
Create Style With Wallpaper

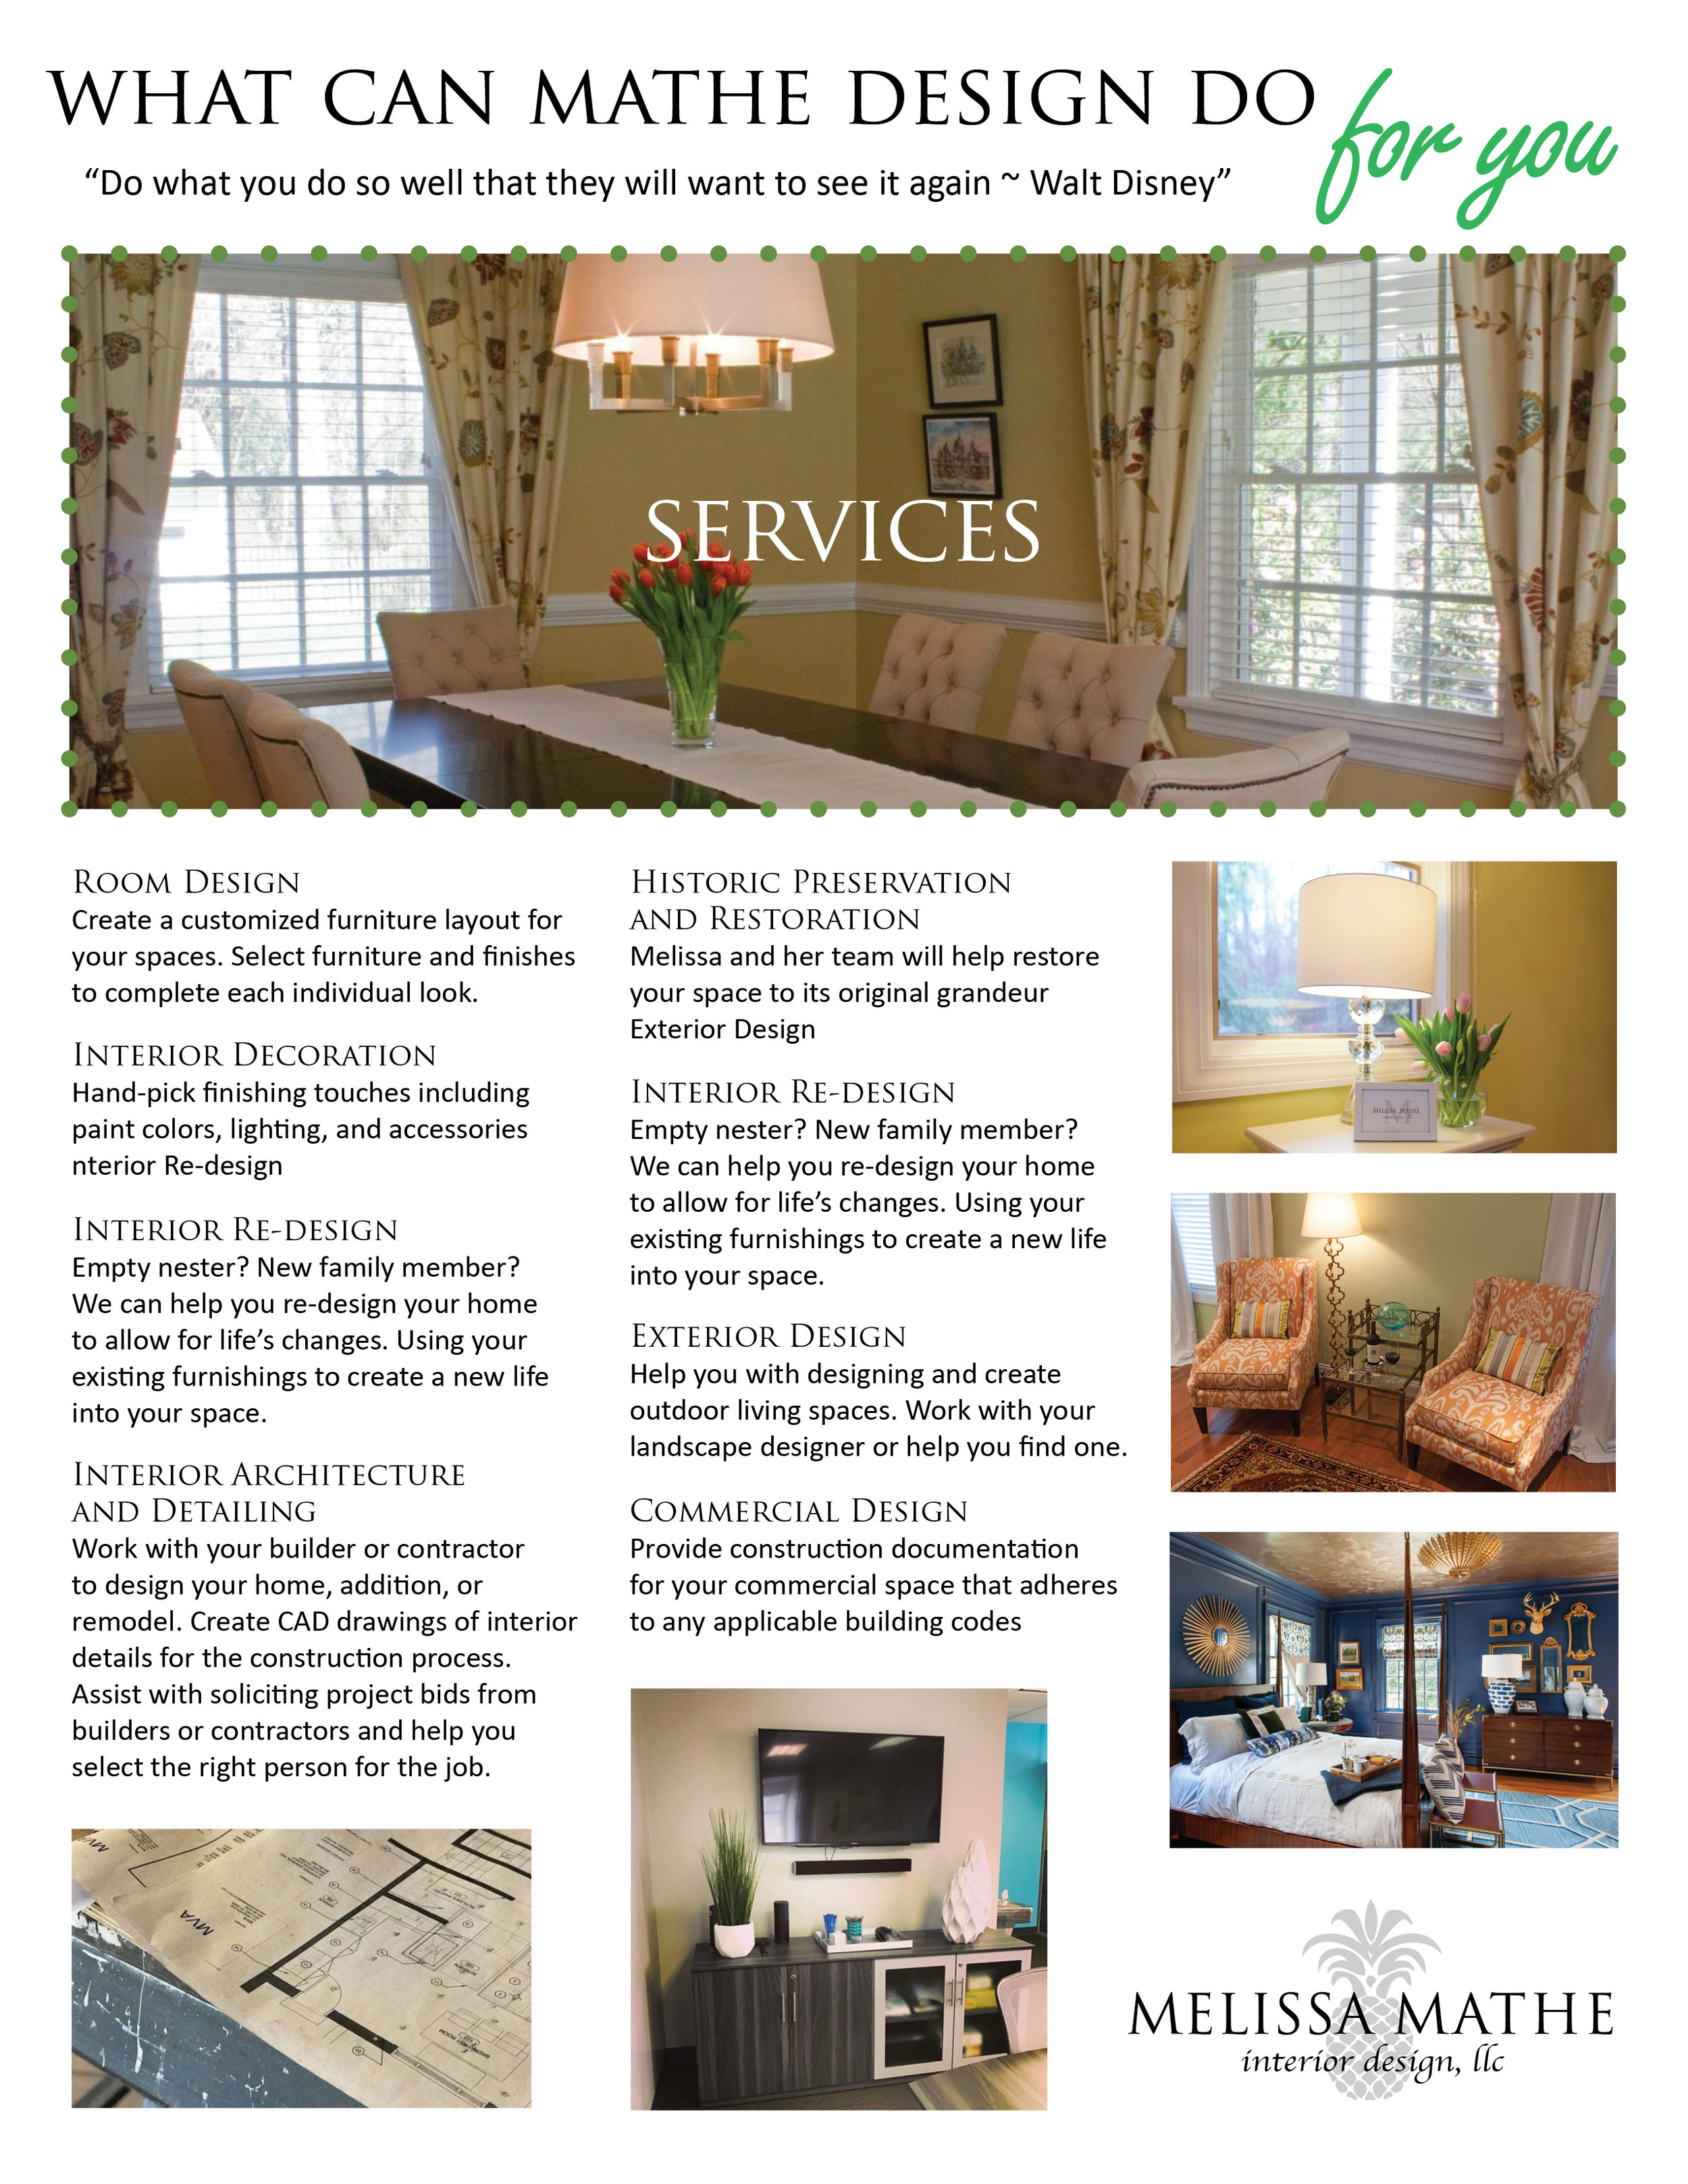
What Can Mathe Design Do For You
Spotlight On Commercial Design

Design Crush: Entry Lighting

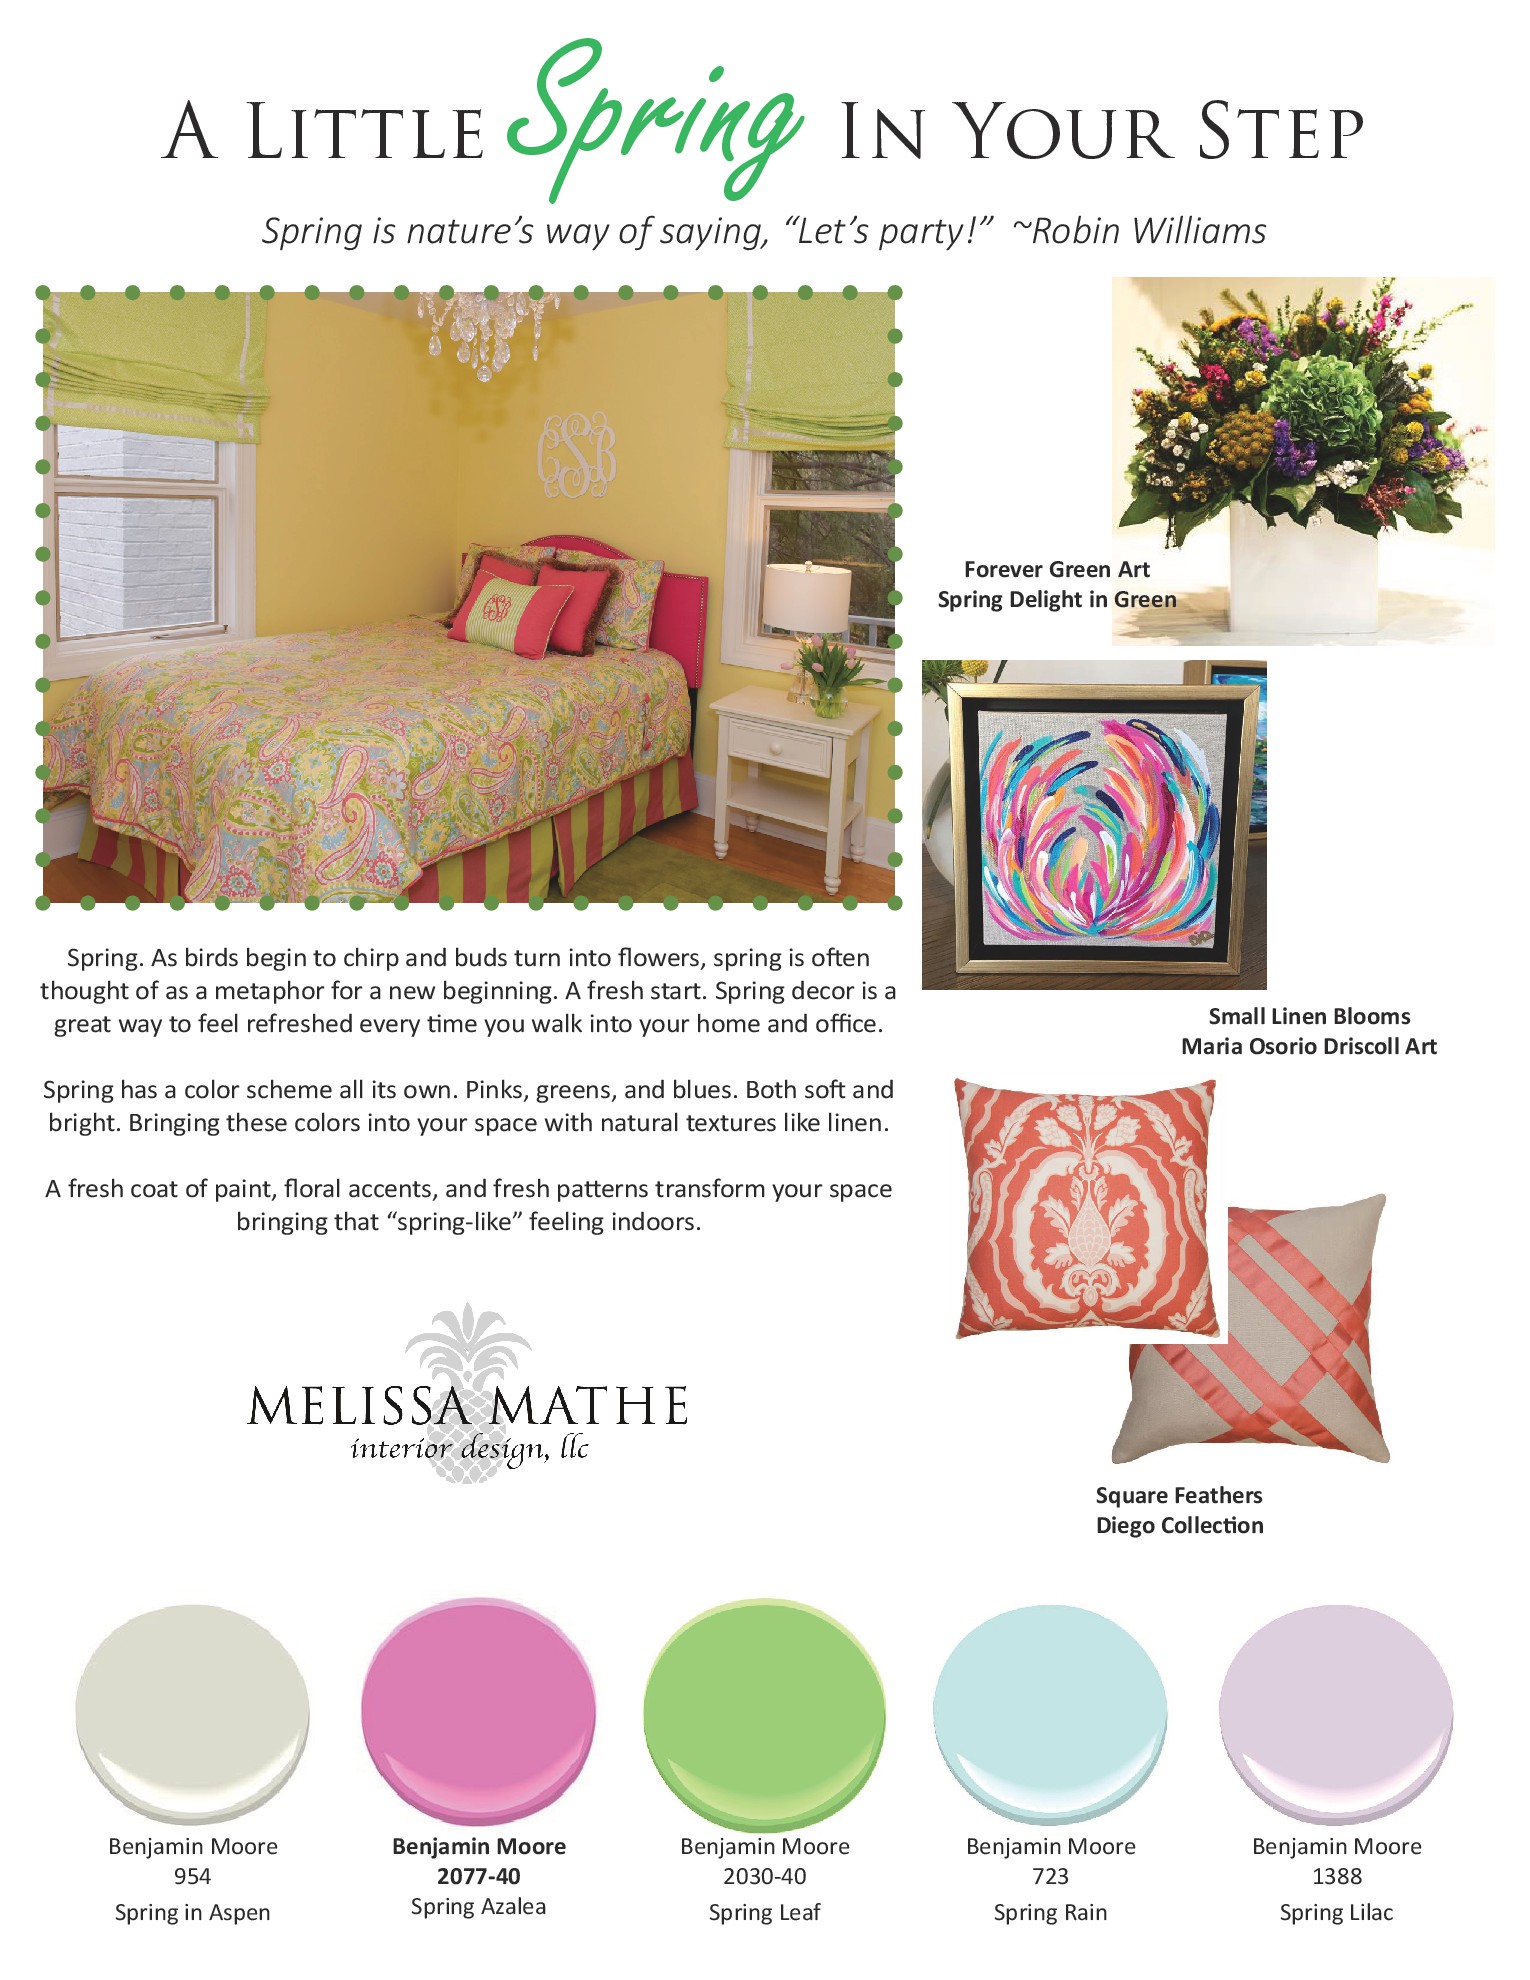
A Little Spring In Your Step
Introducing Deb Smith, Design Assistant
There is a new face in the Mathe Design office. I am so excited to introduce her to you. Deborah Smith is the Design Assistant/Blogger Extraordinaire here at Mathe Design. She hails from the midwest and western New York. Attending the Art Institutes in Pittsburgh, Pennsylvania for Visual Communications and Design. Spending the past 18 years in Richmond, Va she now considers herself a native. Her extensive background in various mediums over the past 20 years in Graphic Design led her to interests in surface design and interiors. Having toured many Richmond Symphony Designer Home tours she has been inspired to push her boundaries. She enjoys space planning, decorating, fabrics and diving into accessories.
Here at Mathe Design her role involves many different tasks from picking out finishes, communicating with vendors and organizing samples for client meetings. Utilizing her background she helps create and put together design boards and blog posts.
She’s passionate about many things in life, the most important being family, friends, travel, music, art, and design. When she isn’t doing work at Mathe Design you can find her developing her paper goods and accessories line Hibiscus & Co. She’s a team player and works to focus on getting the details taken care of to make our clients projects a success.
Welcome to the team, Deb.

Tree Renovation Part 2: Master Bathroom

Image
Image
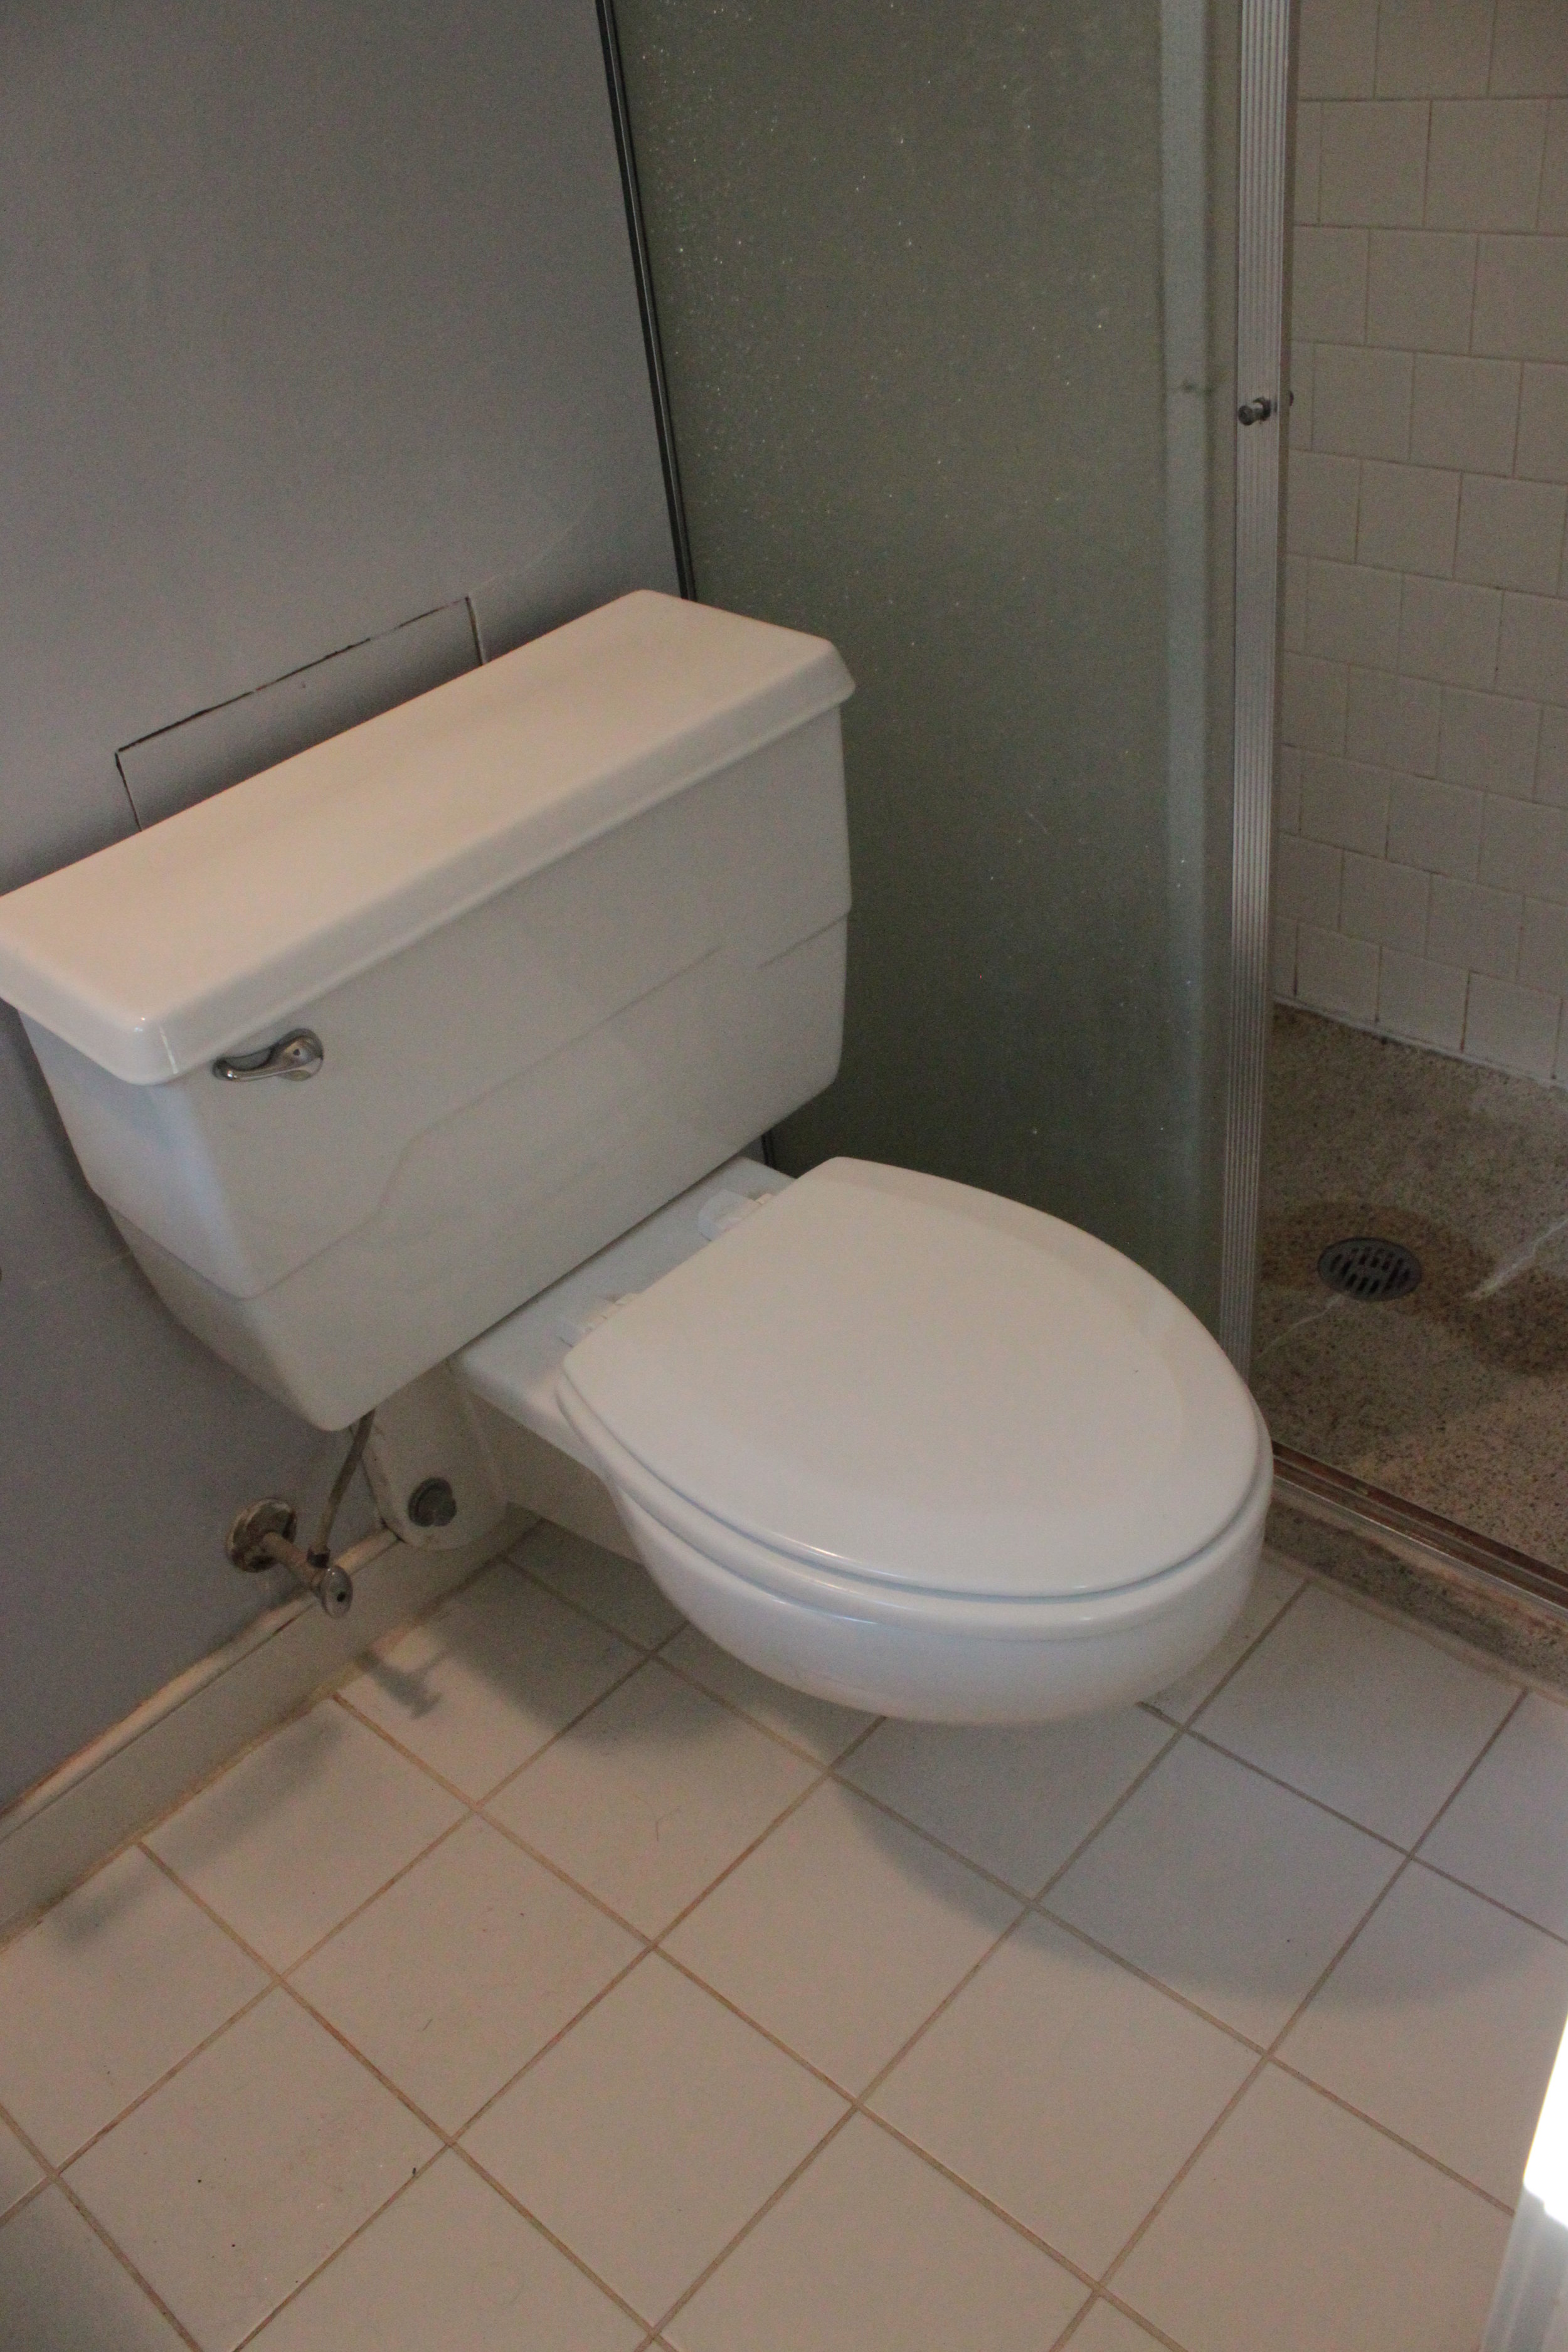
Wall hung sink. The old wall-hung toilet. This thing used about 50 gallons of water every time you flushed. It made us cringe just hearing it.

Image
The old shower. Sometimes I wondered if we got clean in there. No amount of bleach could get all the stains off the floor. And a handful of the wall tiles were cracked.

Image
Retro
Image
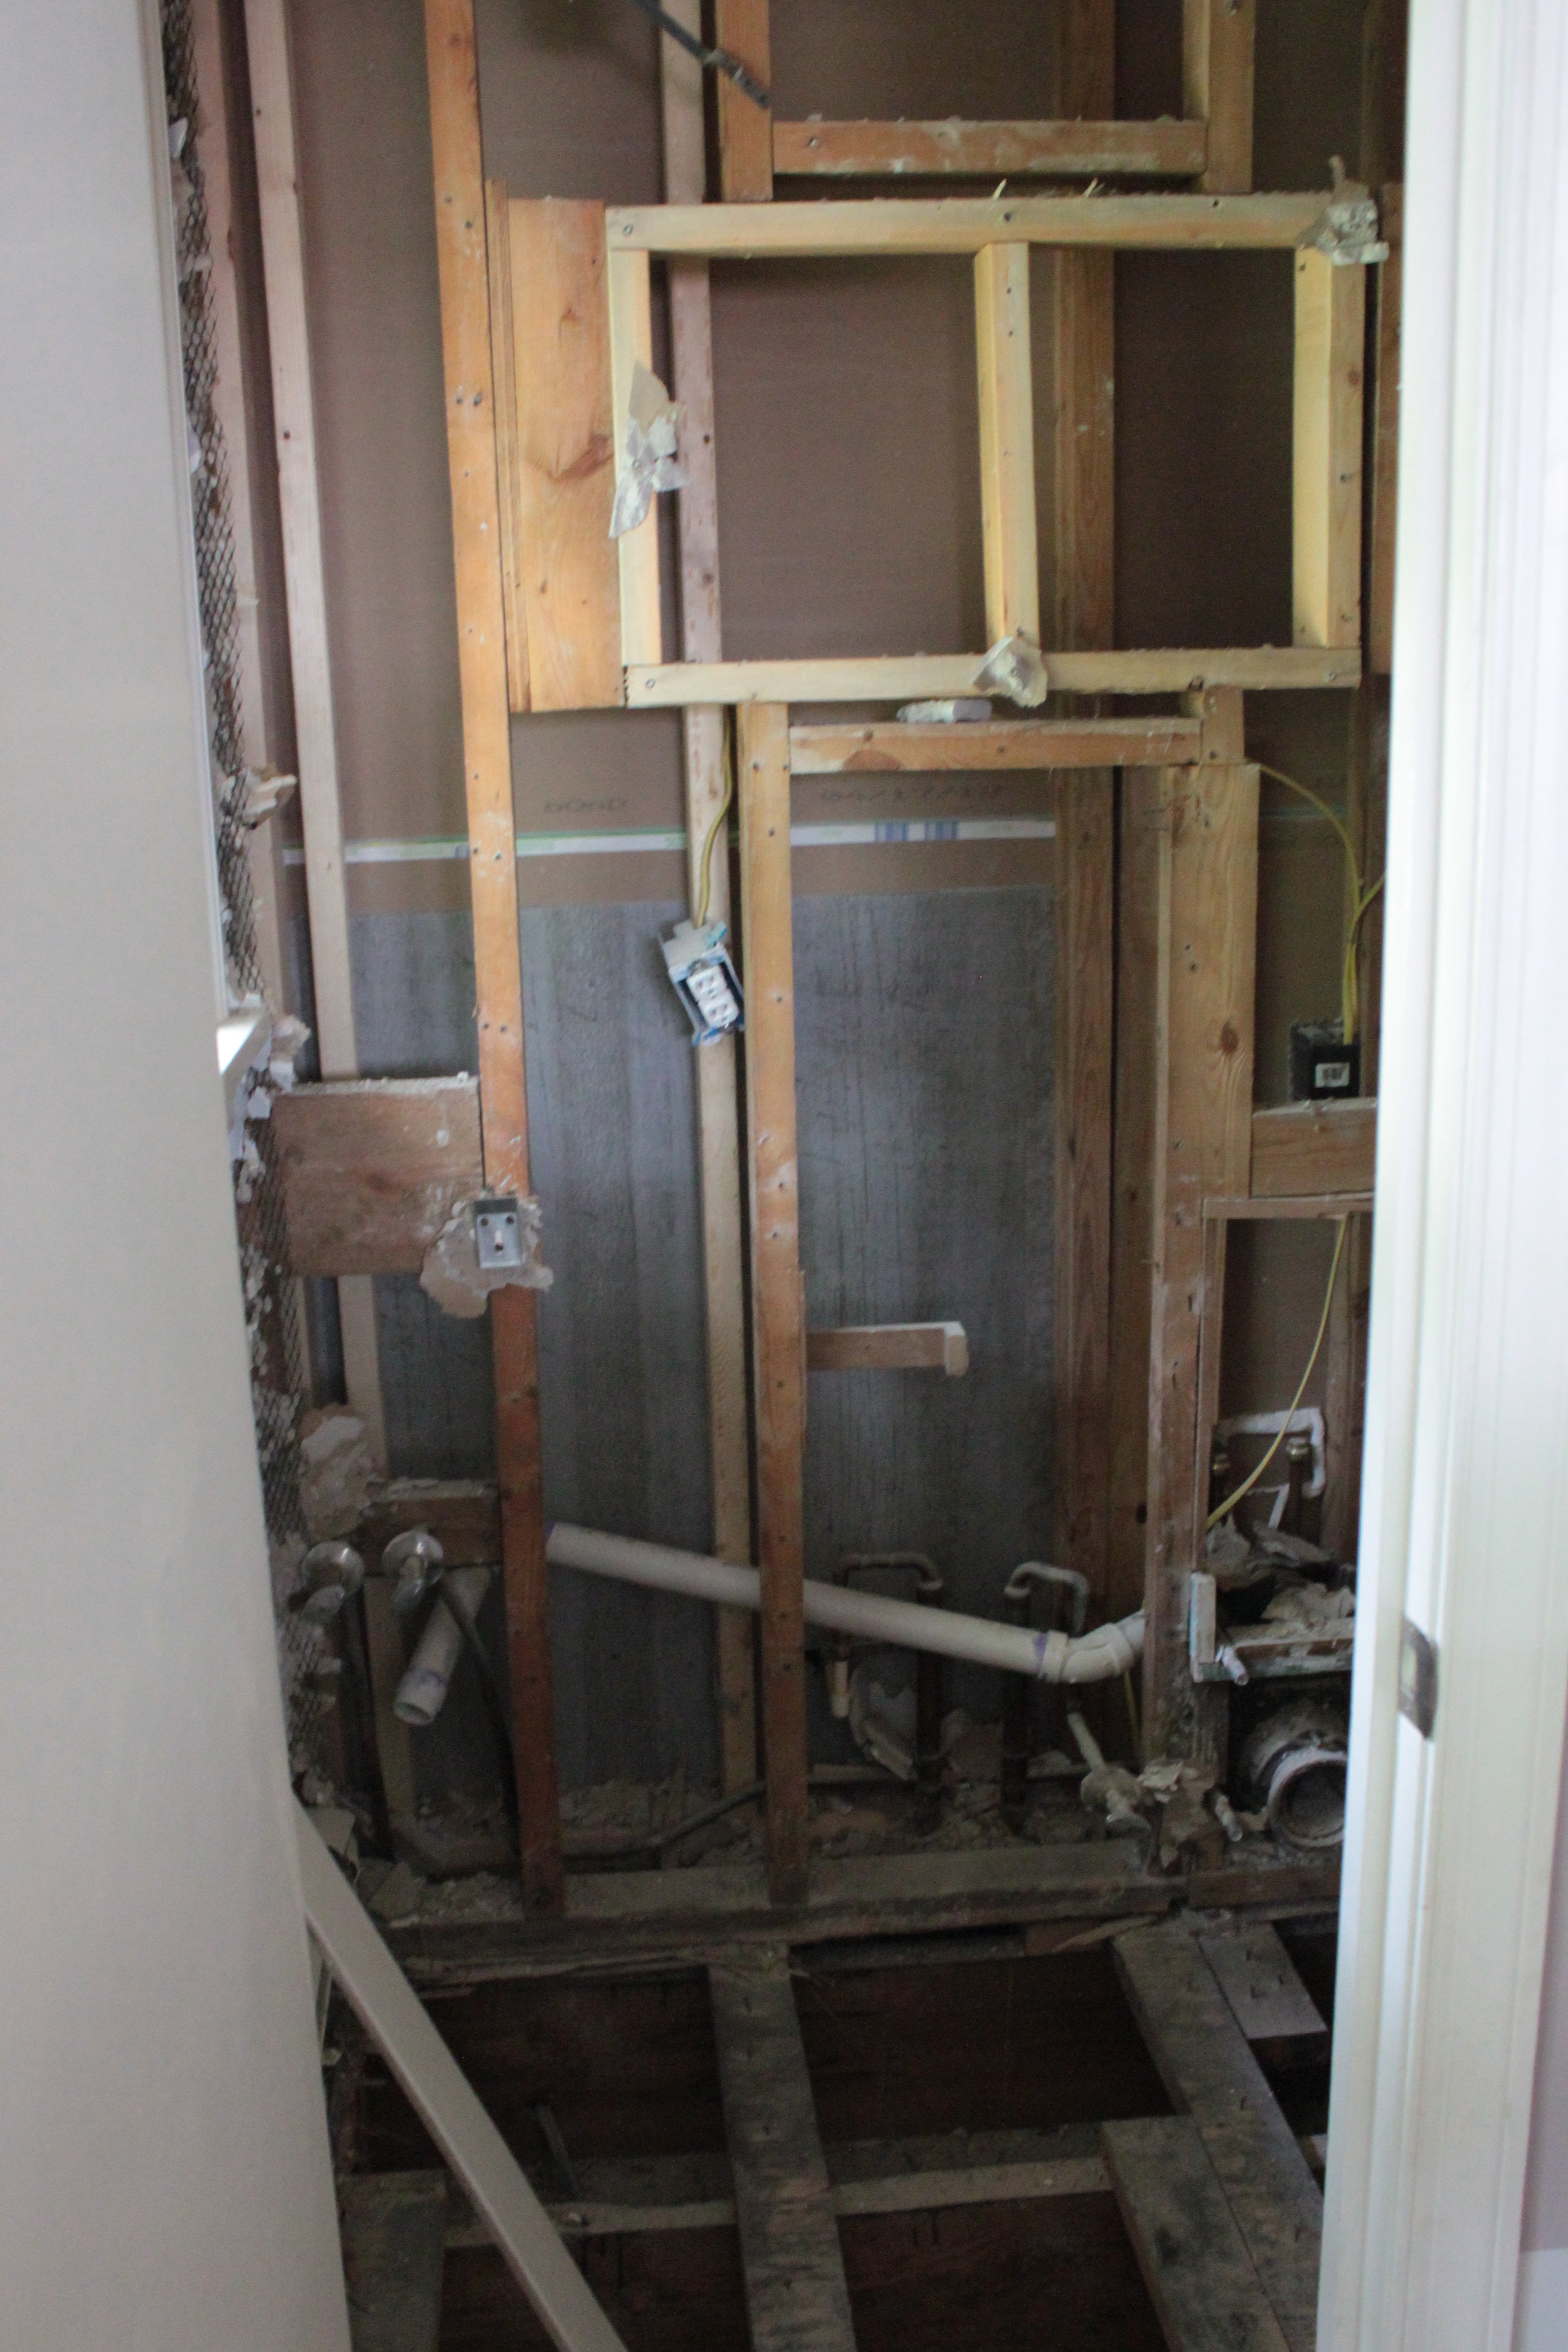
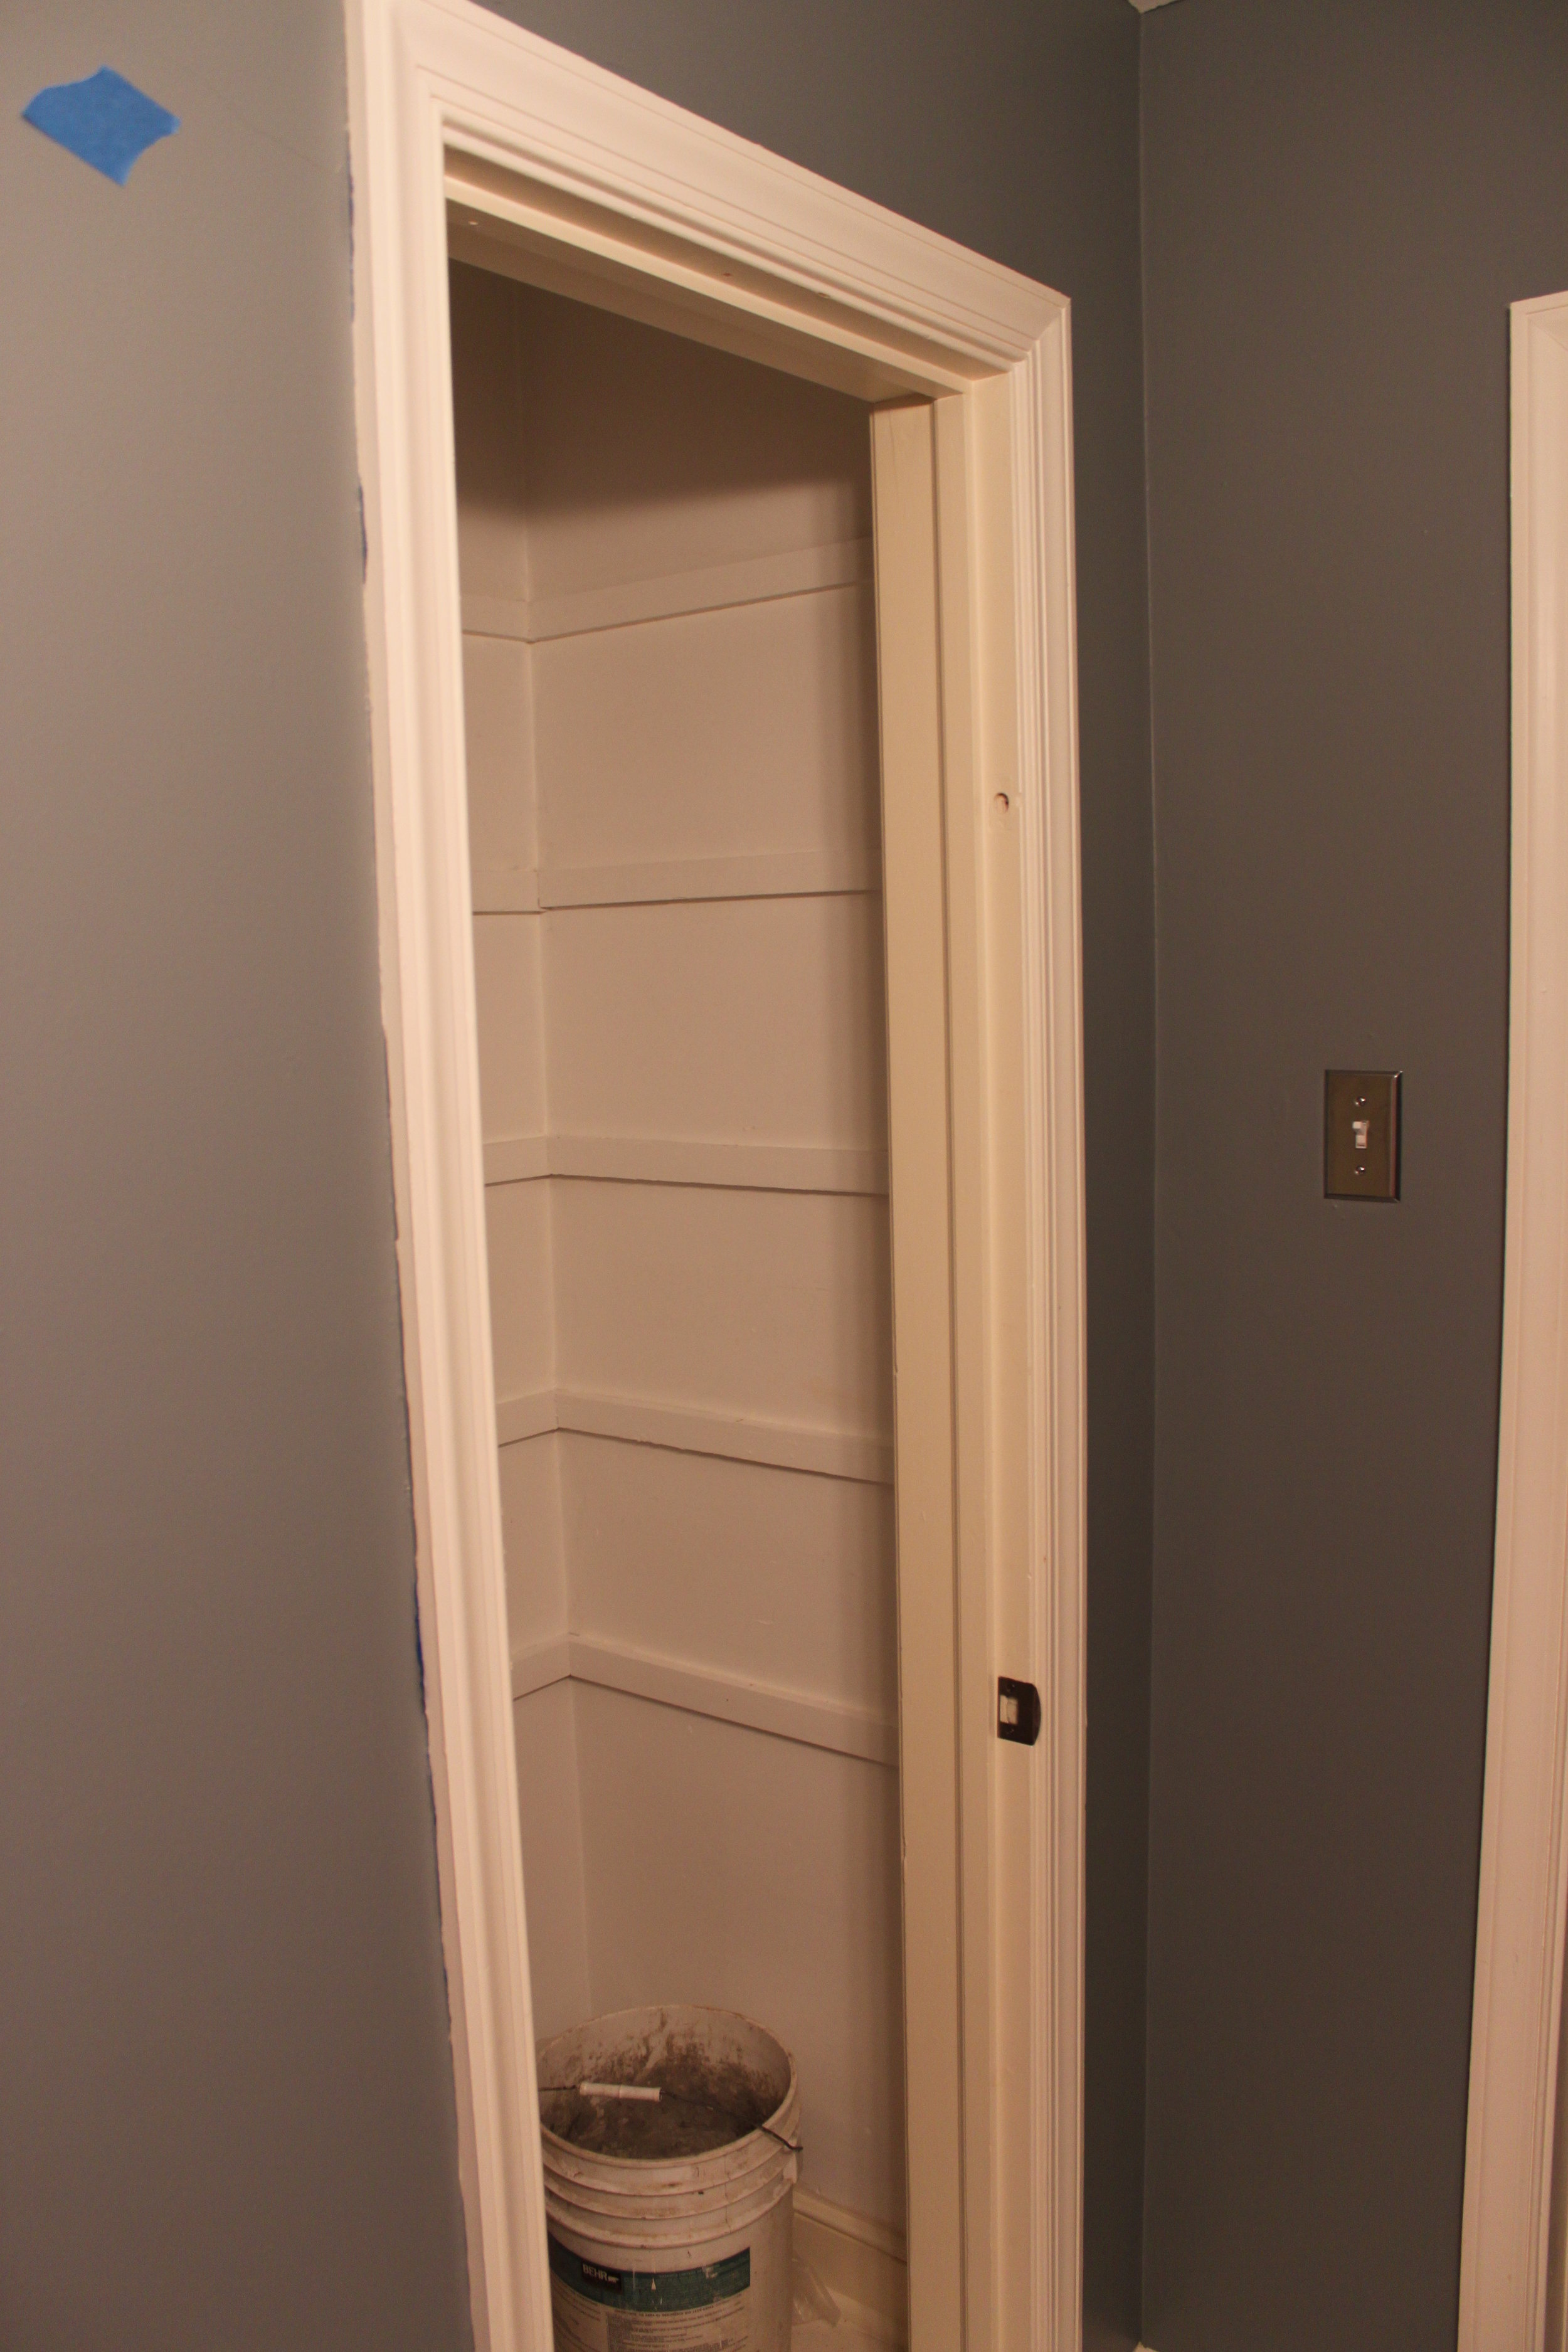
To the studs! Looks like there was once a recessed medicine cabinet.

Image
New plumbing!
Once we removed the wall hung toilet, we were able to gain EIGHT INCHES in the small bathroom. The wall was 12" to fit the brackets for that toilet. Since this is a small bathroom, those eight inches made a huge difference.

Image
Image
Image
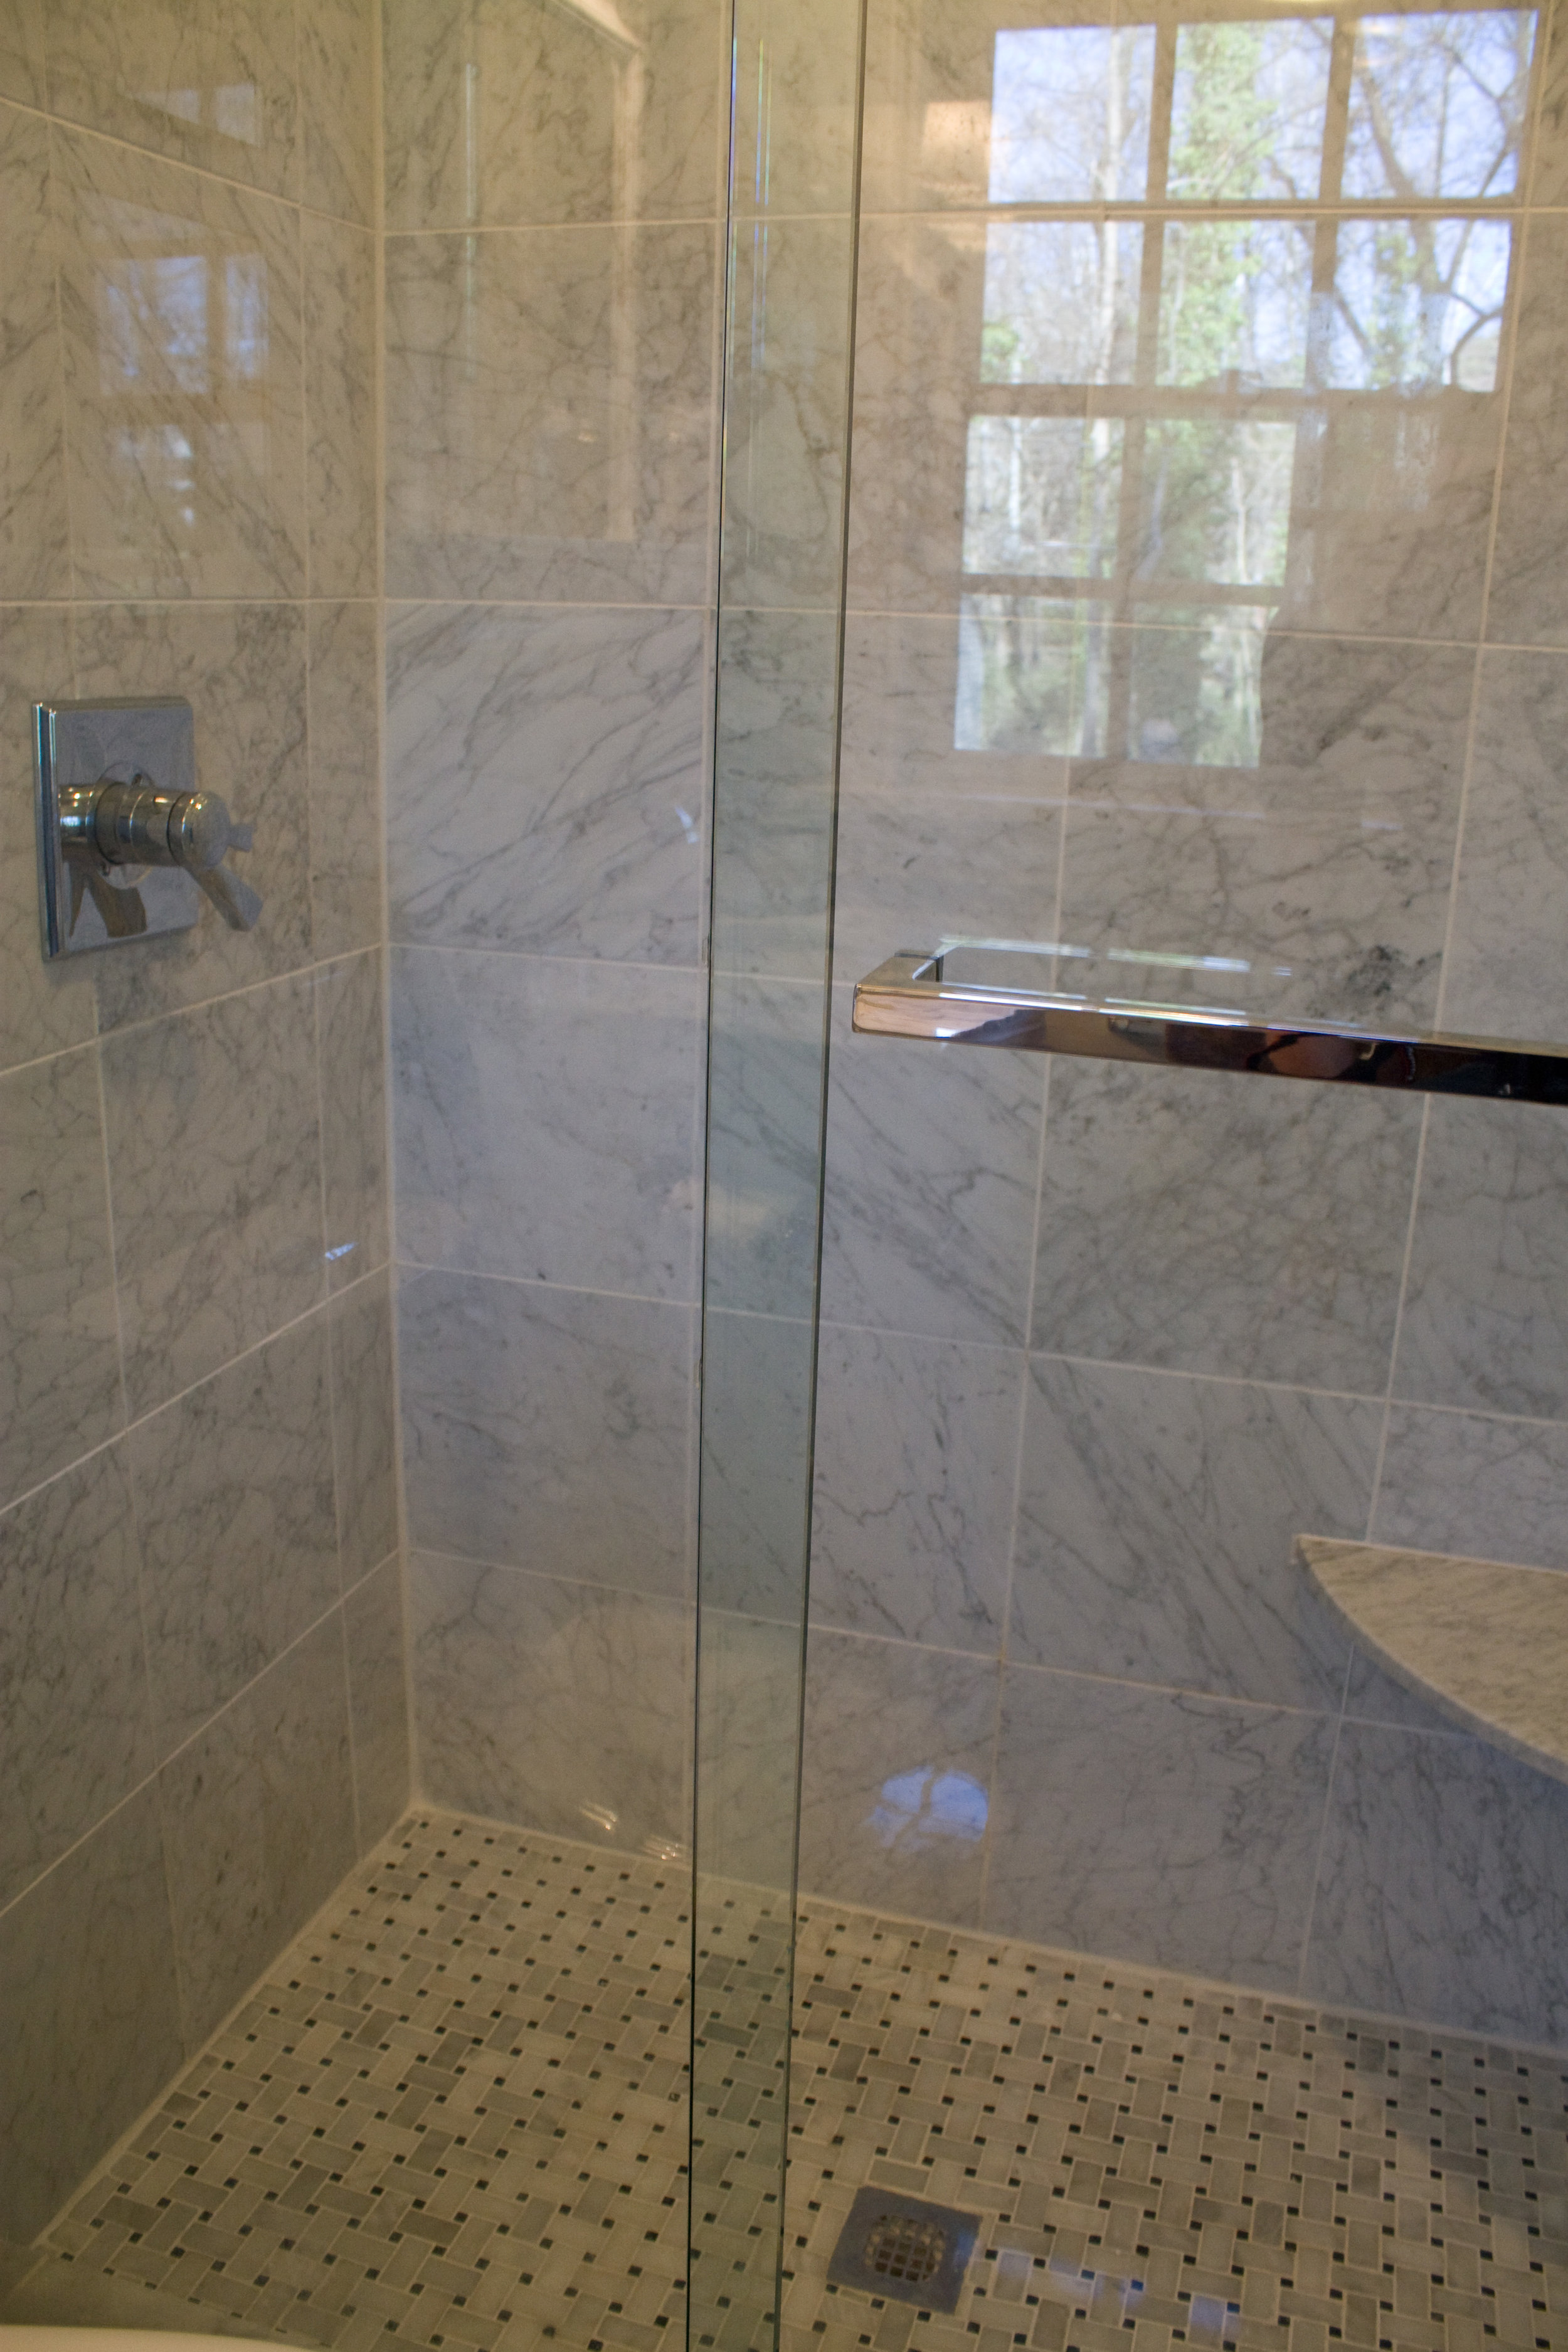
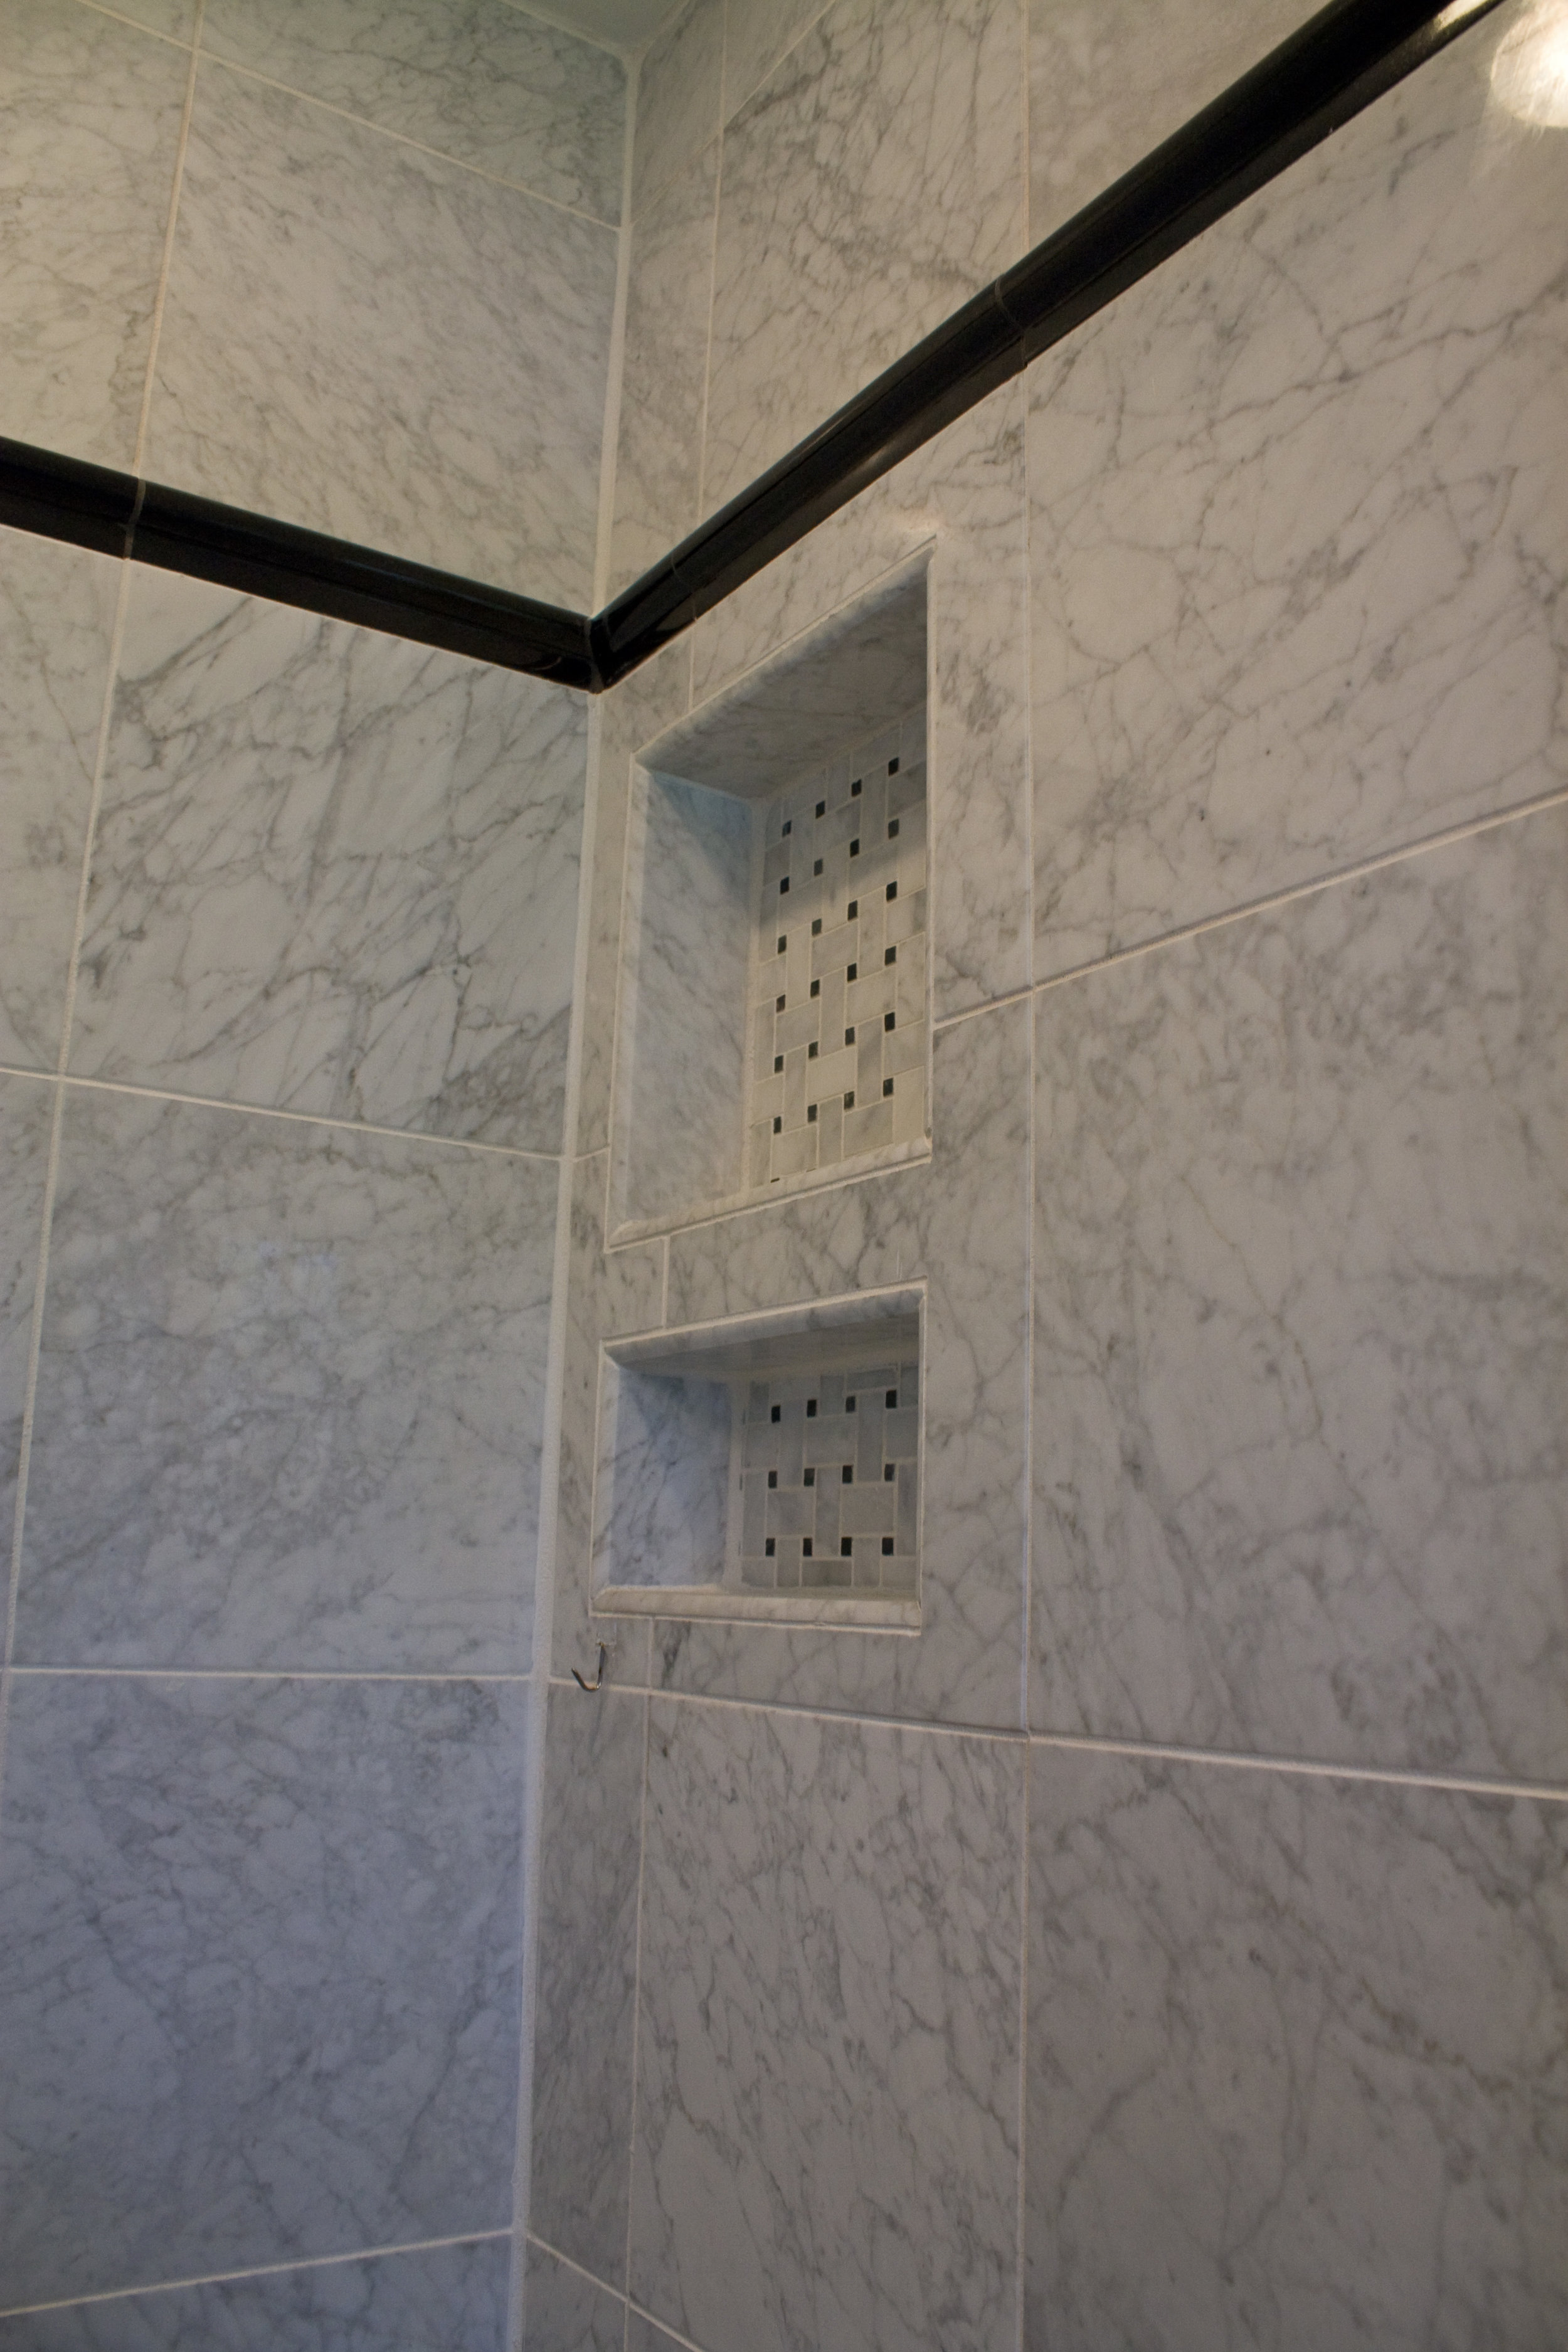
The new shower - all carerra marble! A a small seat in the back corner. Also, on the back wall there is a recessed box for your shampoo and soap. This is lined with the basketweave marble seen on the floor.

Image
IMG_6458
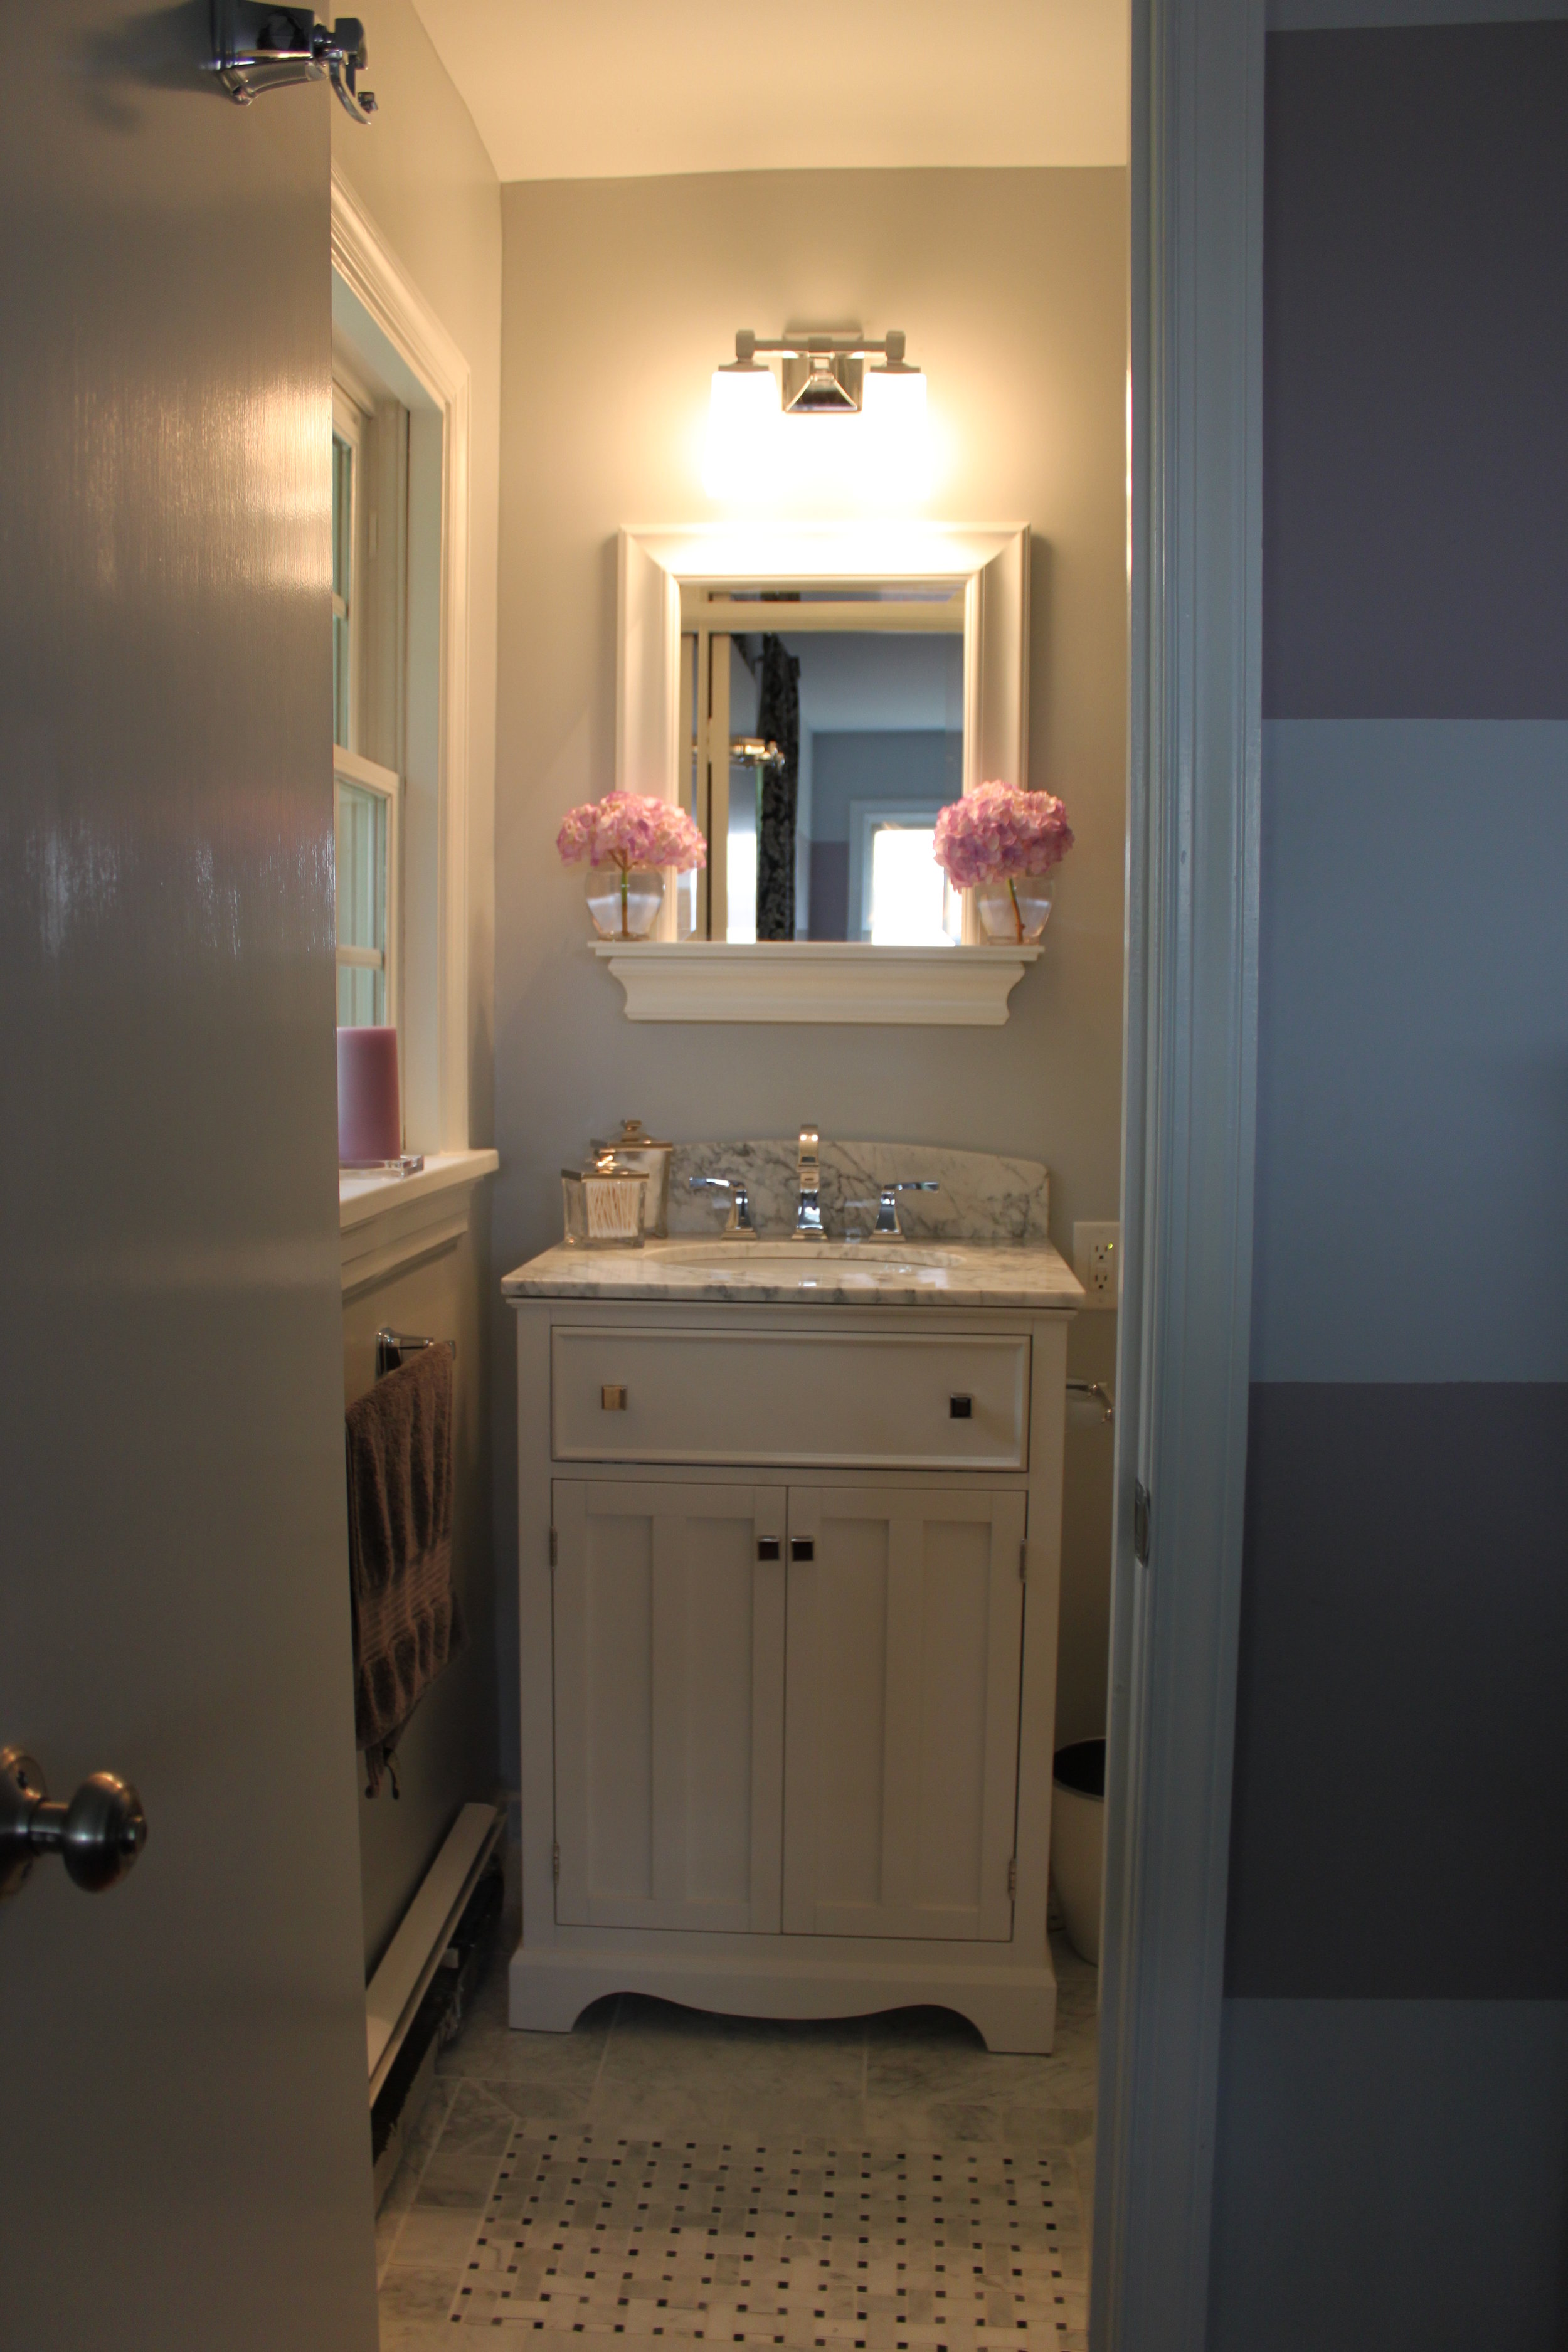
The new sink vanity. I used 12x12 tiles on the floor and then an inset of basketweave, with a border of 6x12 tiles. This creates the look of a rug with the simplicity of the tile.
I used all carerra marble in this bathroom. It's classic and clean. All the fixtures: knobs, towel bars, faucets, etc. are all polished chrome in a modern square shape. i liek the way the two play off of each other.
What was once a dull, drab, and dingy bathroom, is now clean and fresh.
Earth Day 2013
Today is Earth Day 2013. We have one day a year where we recognize our planet and the need to appreciate its beauty and take care of it. Hopefully this day's awareness will carry on with you throughout the year.
Google is celebrating today with an animated logo....
www.google.com
What can you do to help save the Earth?
What can you do in your home to save resources?
Here is a link to the official Earth Day website.
http://www.earthday.org/
Think of ways you can save the Earth around your home....
- Lighting: turn off the lights when you are not in the room. use energy efficient bulbs
- Washing clothes: not filling up your washing machine all the way saves energy. How about hanging up your clothes to dry?!
- Thermostat: check the settings. It is recommended to be most energy efficient you should set it for 68 in the winter and 78 in the summer. Be sure to get your HVAC system serviced once a year to be sure it is running properly.
Here are some more ways to save energy around your home.
http://www.emd.wa.gov/hazards/haz_simple_ways_to_save_energy.shtml
Happy Earth Day!!
SEElogix, LLC
Are you on the edge of your seat waiting for this week's blog post?!
Well, this week I am guest blogging over at SEElogix, LLC.
Come on over for a visit....
http://seelogix.tumblr.com/
Tree Renovation Part 1: Hall Bathroom
The "Before" I tried to embrace the pink tile and we had a lovely Pink and grey window treatment made, however, due to the black tarp on the ceiling and the pink tiles all being cracked, it was time to make a change.
Time for things to go. The demolition begins.
The sink console...buh-bye!
The wall hung toilet that used 5 million gallons of water per flush - buh bye!
Plaster walls - buh-bye!
Here you can see the lovely pink tile. The toilet and sink vanity have already been removed.

IMG_5822
What once was a closet, will soon become a sink niche. I know what you are thinking..how could I get rid of storage space! Well, the bathroom is tight and this was much needed square footage for a better flow. Besides, not having this closet helps from hoarding too many towels! My dear friend Matt Paxton over at Clutter Cleaner would be proud. (www.cluttercleaner.com)
IMG_5824
Check this plumbing out! On the right is the bracing and plumbing required for the old 1959 wall hung toilet.

IMG_5848
The Godfather may give the advice to go to the mattresses. But in this bathroom we went to the studs! Floors, walls, ceilings. Everything that had plaster on it...gone. We did keep the existing porcelain tub. Although it's a bit small for today's standards, it's a classic. They just don't make 'em like they used to.

IMG_5847
The building back begins. Since there was not enough room to make a water closet, we made a little privacy wall next to the toilet.

IMG_5955
DRYWALL! NO more plaster walls!!!! Glorious!

IMG_5969
And here is my new sink niche. This is surrounded by concrete backer board since it will be tiled.

IMG_5974
Tile is being installed! I chose a large 18x18 plain white porcelain tile. I wanted something to be simple yet make a statement. I installed it "on the 45" for some interest. I used a 6x12 tile for the border. (actually 12x12's cut in half)

IMG_6063
The tile is in and so is the vanity! I added a lime green glass tile for an accent. I picked lime green because it is bright and fun for this cheerful kids bathroom and can go with yellow, pink, and blue. So future color schemes are not limited! It's important to think about the future.
There is also a duplex outlet on either side of the vanity. This allows for lots of flexibility for the future. Whether it's a spiderman night light or a curling iron the bathroom is ready for it!

IMG_6253
My privacy is finished out with a granite top that matches the vanity. It's all coming together. I also installed an outlet here. Currently the plan is to have a changing table here and the wipes warmer needs to be plugged in, but in the future this can plug in a nightlight!

IMG_6252
We have lighting! Sconces on either side of the mirror are the most flattering lighting for this setting. So if you have the space, do sconces! I also installed a general flush mount fixture for overall lighting and a recessed can in the shower - make sure they are all rated for bathroom use!

IMG_6255
My fancy toilet. It's the little things in life. And during this project it was all about this toilet. What's so special about a toilet? Well, this one is comfort height (formerly known as ADA height). Kids will only be small for a short time. So one day they will want comfort height, too! And it also is elongated bowl. the lid is slow-closing so no slamming down and no little fingers being smashed. Maybe this will encourage putting the lid down? And it is dual flush. Think ahead - be green! The entire surrounding is tile. One day there may be a little boy in this bathroom...they're messy. Enough said.
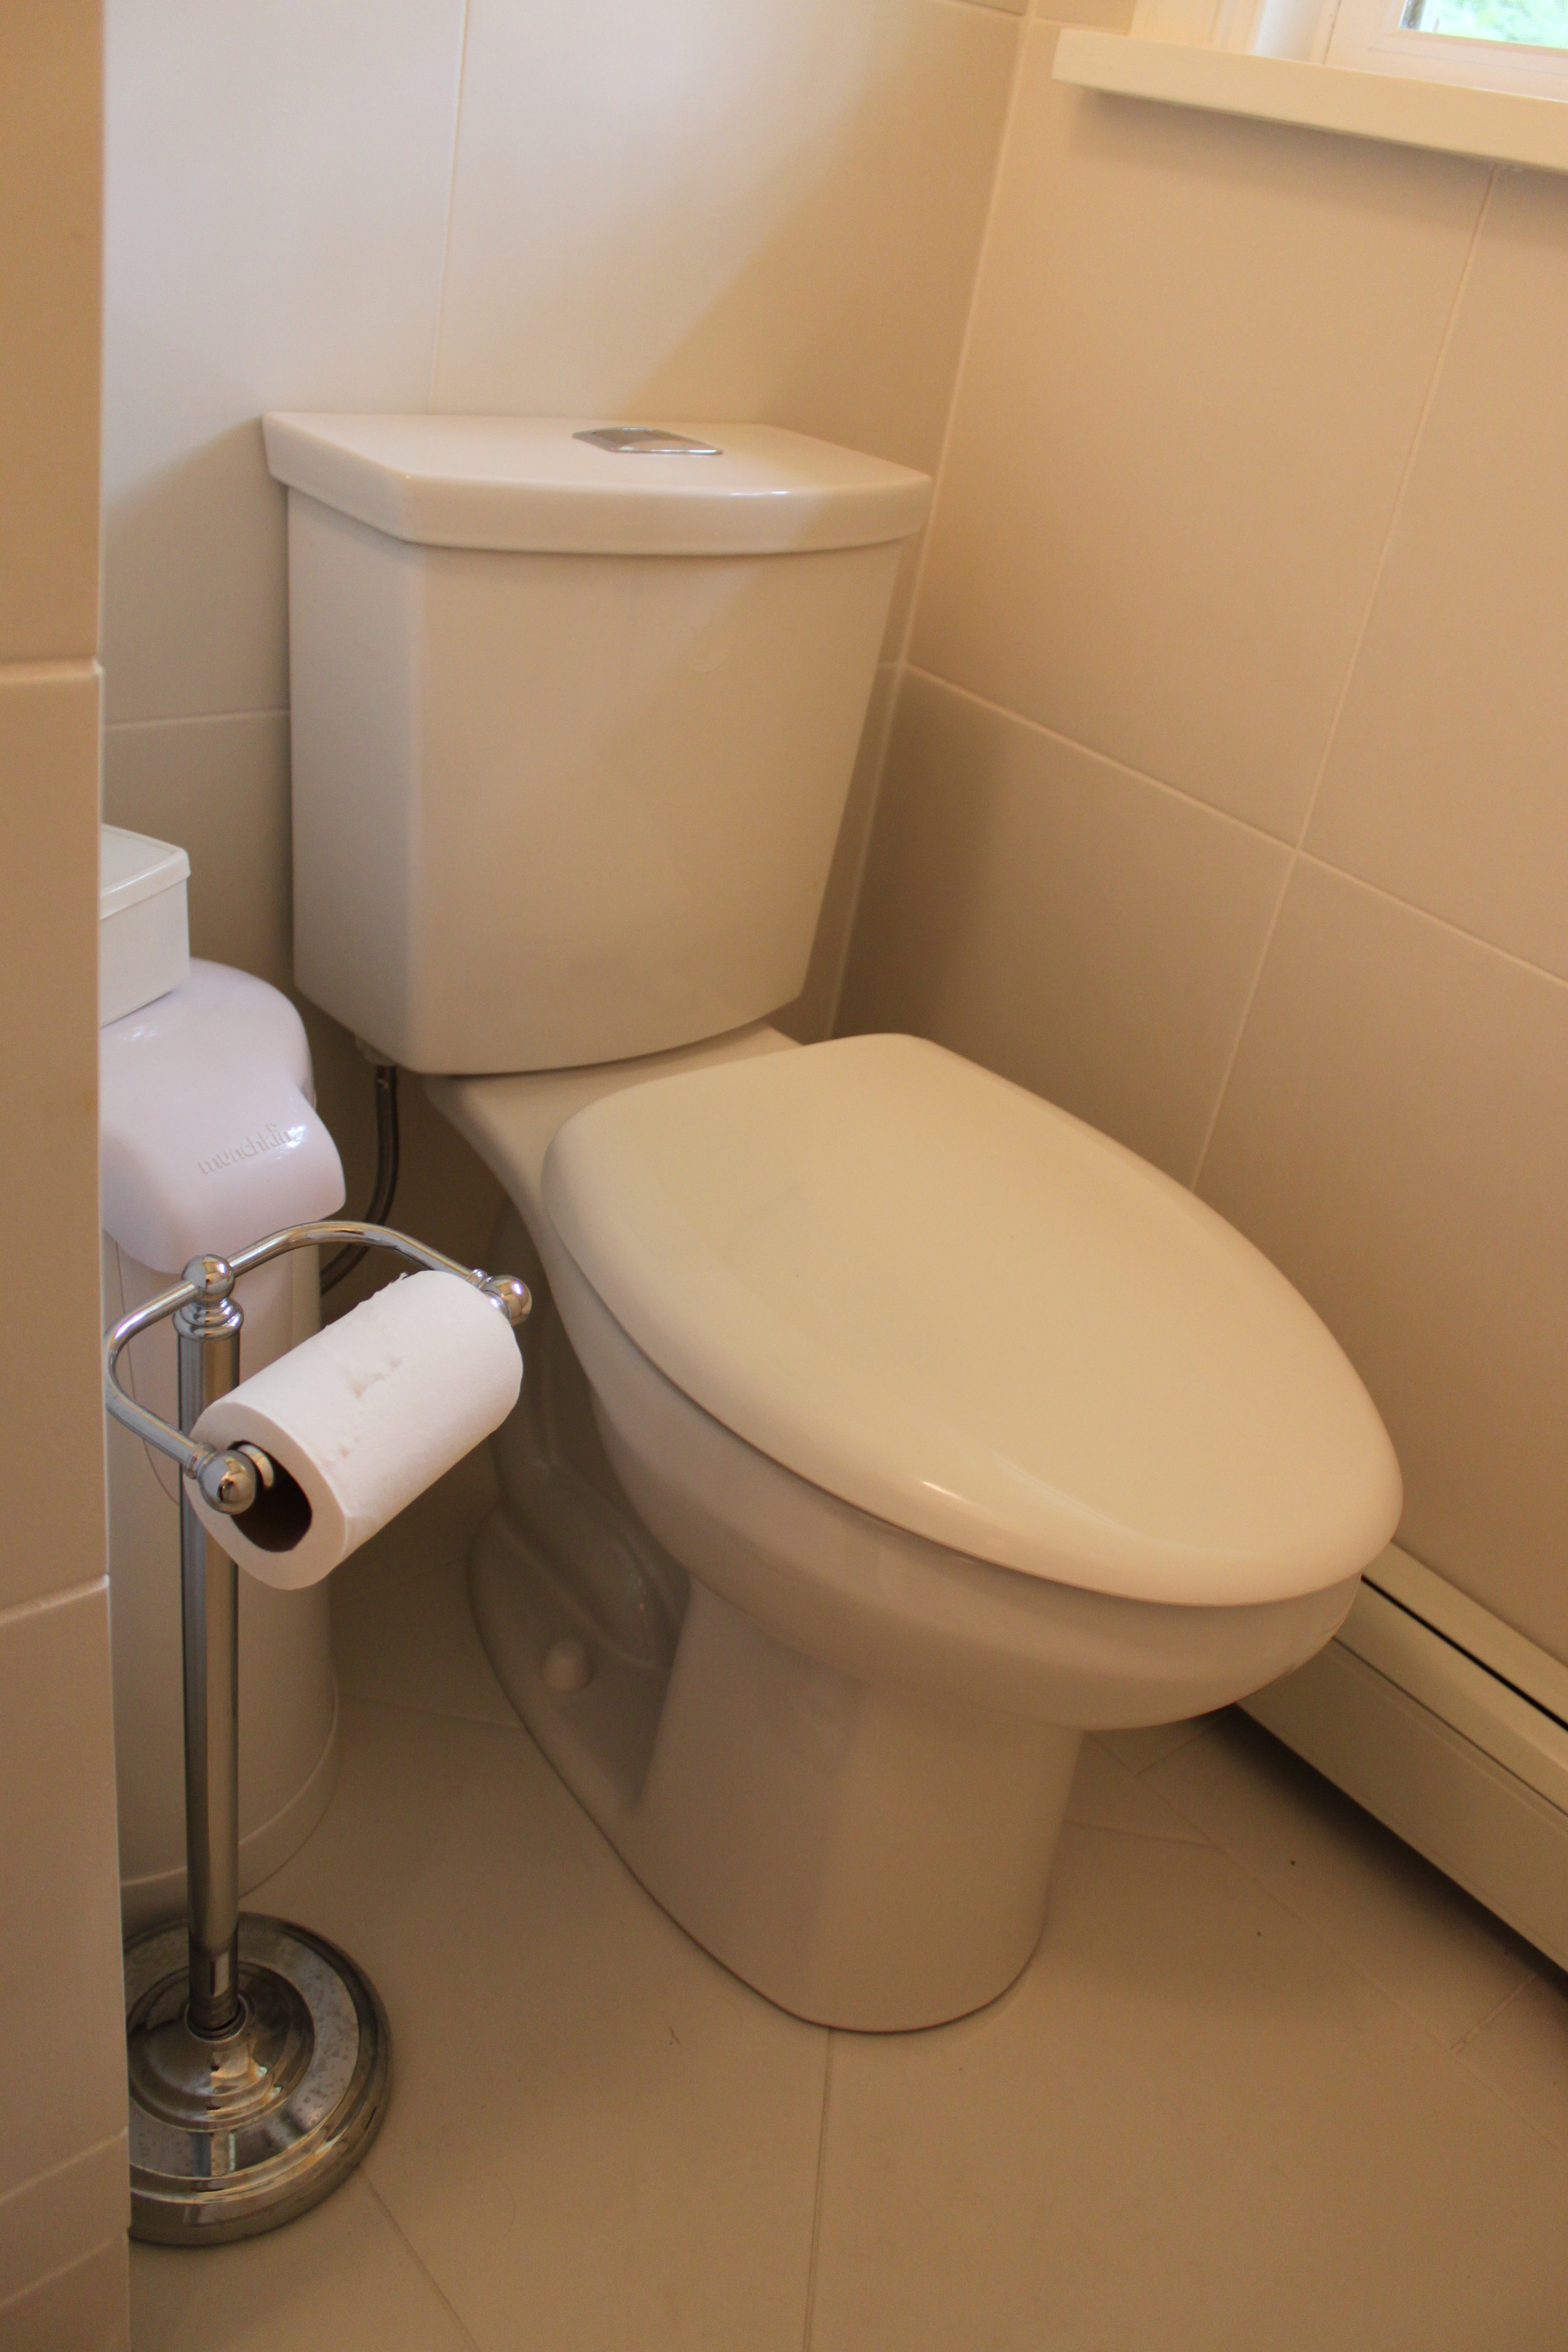
IMG_6464
In the shower I kept the flow of the accented green tile. Although I brought it up higher since the tile goes all the way to the ceiling. I also put in a "shampoo box". I had a fancy soap dish that I won at a luncheon, so I just needed a place for the bottles to go. The tub corners are never big enough and shelving can be an eyesore.

IMG_6461

IMG_6463
Here she is! The new vanity. Slow closing drawers and a decorative shelf on the bottom. Since I did take out the linen closet, this allowed me storage for the towels.
So there you have it. This bathroom once had pink tile and a tree through the ceiling. And now it's practical and functional...and looks good too!
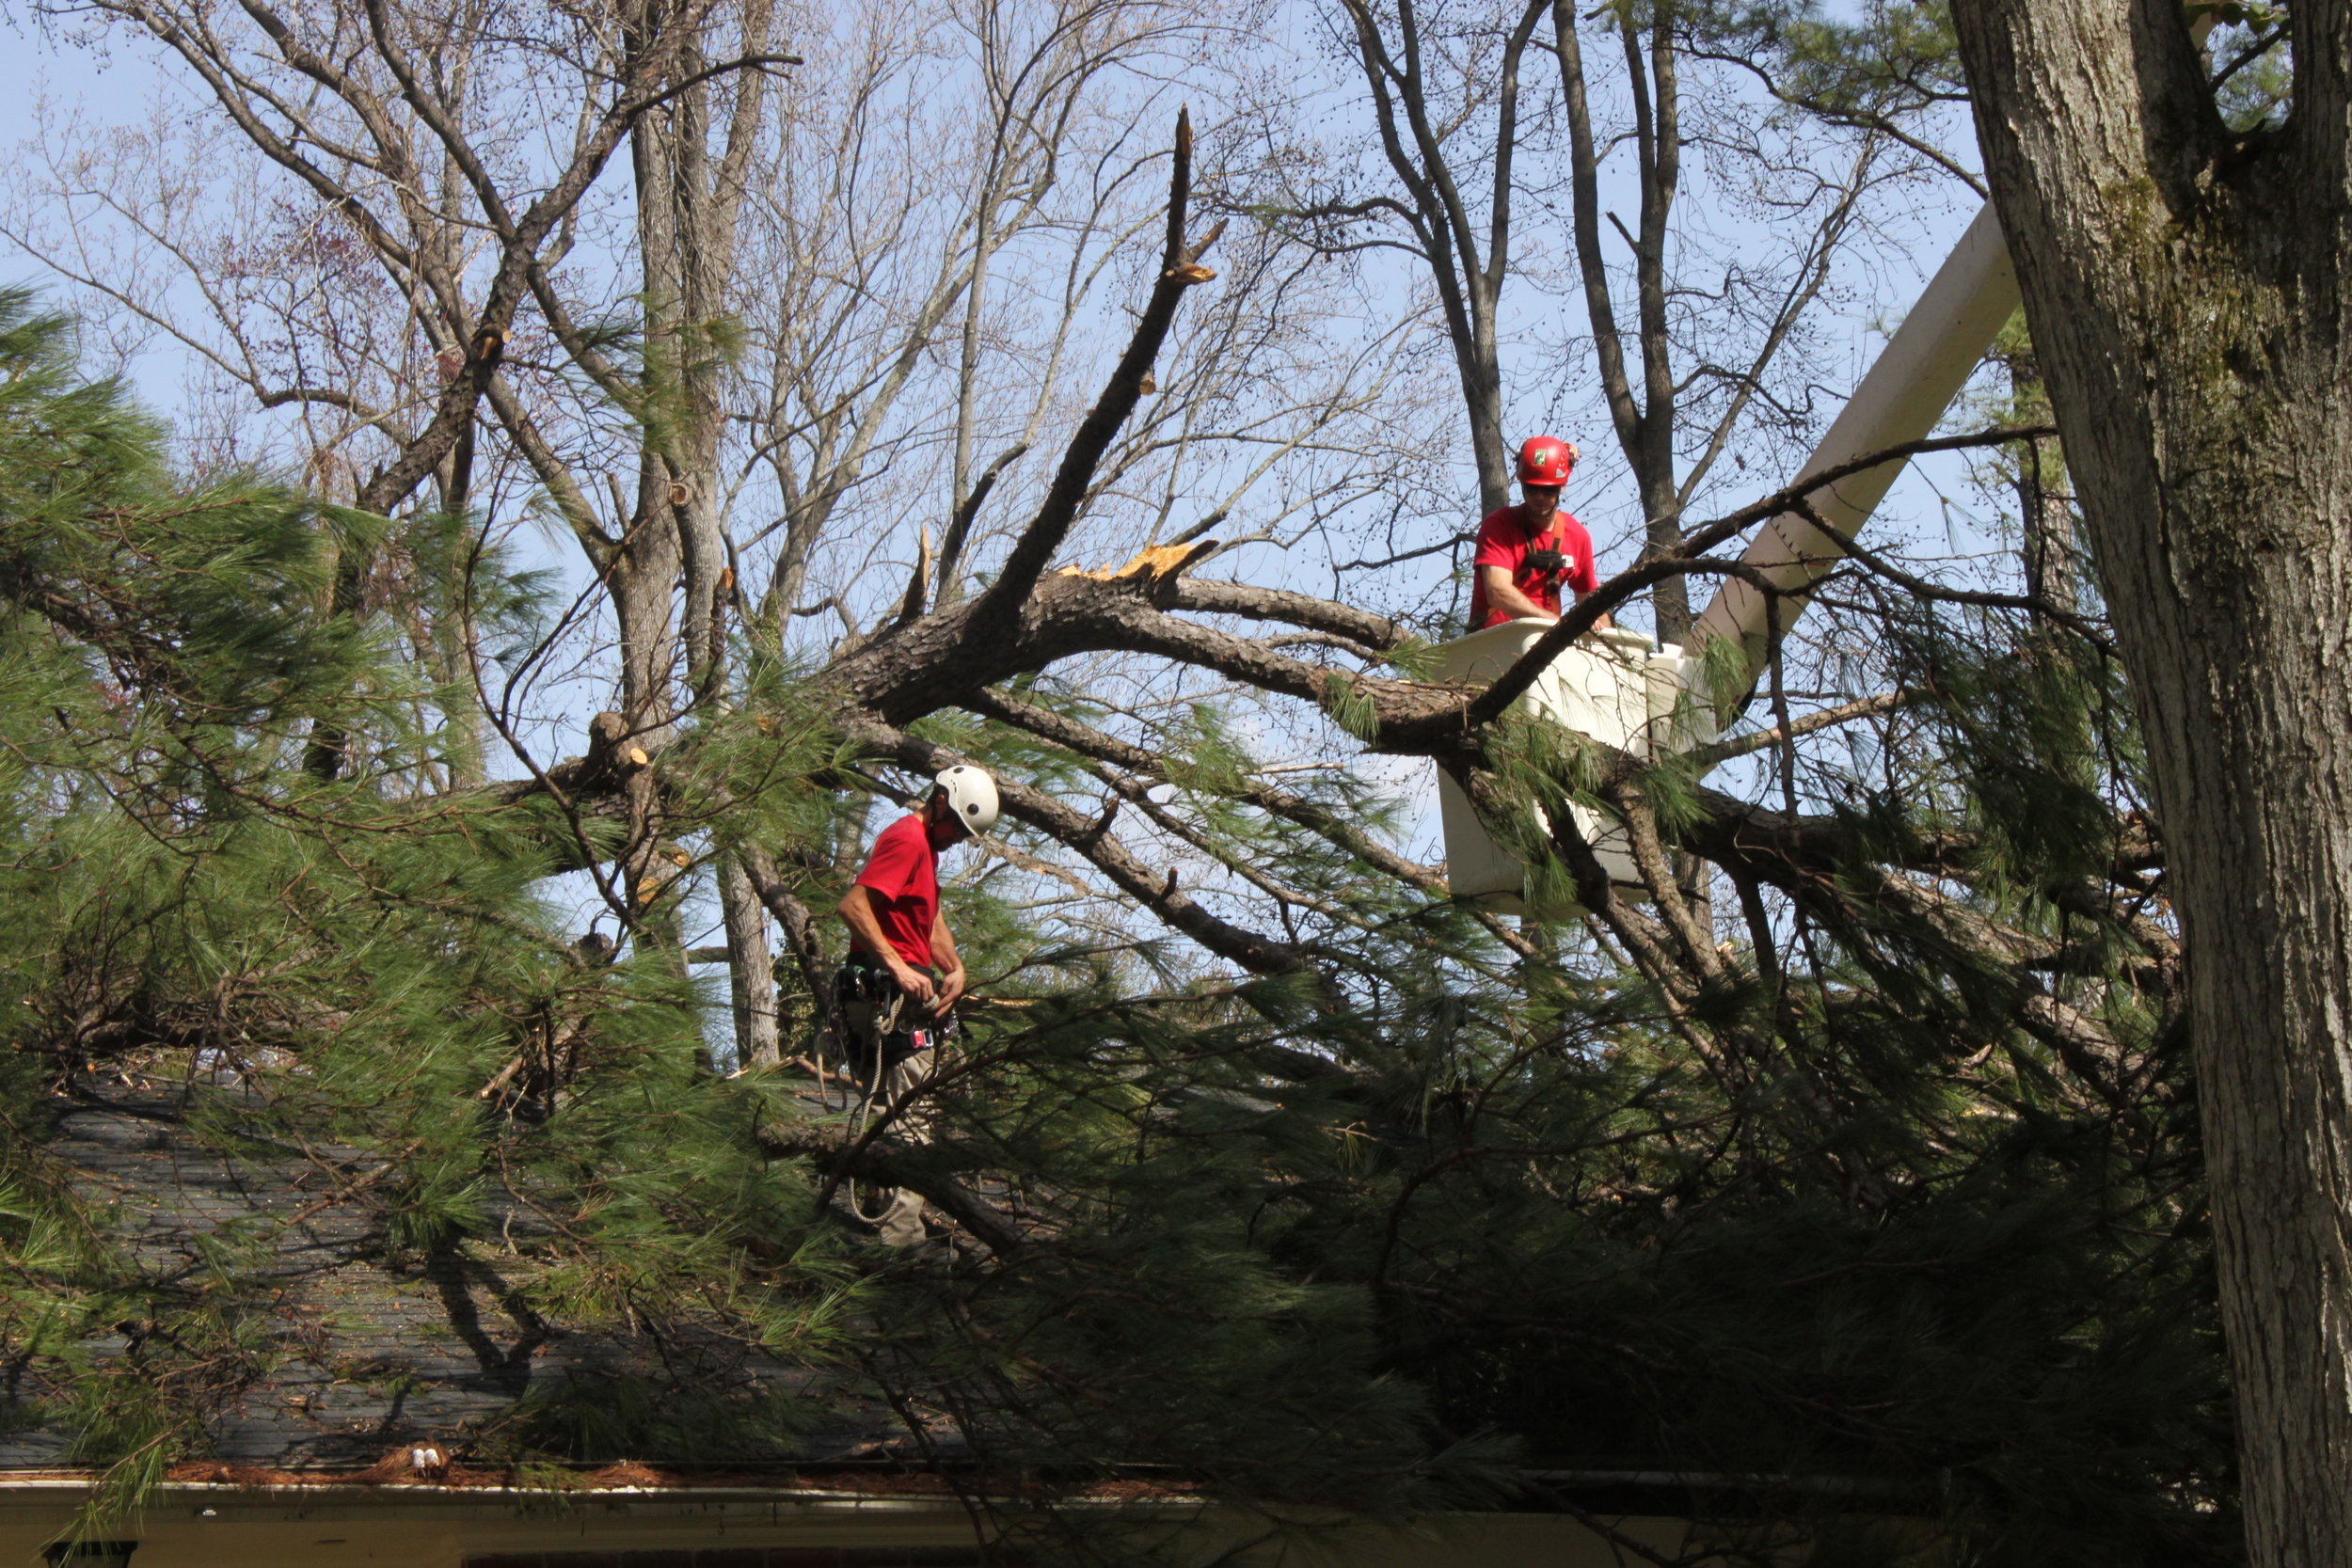
Timberrrrrr
Thank you to this pine tree for making its way through my home last March. March 1 to be exact. It was a lovely morning. I sat working quietly in my office 4 months pregnant. Greg was unemployed at the time and he was in the Den working hard at networking and looking for a new job. (Which he did find thank goodness). When all of a sudden we heard a loud crack getting louder and louder and then BAM! The whole house just shook! We grabbed the dog and went running outside for fear of it falling further into our home.
A home that needed some updating. It was built in 1959. While it had good bones (it held up a giant tree after all), however, pink tile in the bathroom was a bit....um... dated. So in a way I am thankful for this tree falling through our house. Yes it caused stress. But it also kept me quite occupied while eagerly awaiting the arrival of our daughter.

IMG_5503
The root ball and my bump. I was thankful that I could sneak in on this warm day to get into some cooler clothes.
IMG_5485
Cutting the tree into moveable pieces

IMG_5459
Princess watched anxiously. She wanted to be sure her sofa was unharmed so she could go back to snuggling.

IMG_5465
That's going to hurt.

IMG_5457
And it made it way all the way across the house. And even managed to damaged Greg's car, too.

IMG_5521
The tree is coming off of the house!

IMG_5575
Architectural Digest here we come! Check out the blue tarp roof. So trendy.
First up...the hall bathroom...